Threaded Quilting Studio

No Y Seam Feathered Star

Snowflake QAL: Week Seven

Jessie ZeiglerComment
Lisa's progress! @duhquilts on Instagram.

Lisa's progress! @duhquilts on Instagram.

Welcome to Week Seven! 

Snowflake Sampler: two 8" No Y Seam Feathered Stars

Star Flurries: one (this is a correction) 20" No Y Seam Feathered Stars or Fierce Feathered Stars (your choice of construction method)

Feathered Star Blizzard: three 8" No Y Seam Feathered Stars

I'm continually inspired by all of the progress photos I see! I say to myself "That's my favorite one!"... for every single star or group of stars I see! :) haha

What I LOVE is the diversity of color palettes. This group is making the patterns their very own!

JessicaQuilter made her own layout design using the 20" feathered stars. Look at her beautiful quilting!

JessicaQuilter made her own layout design using the 20" feathered stars. Look at her beautiful quilting!

Lisa @shiraz_and_sewing is using soft pink and blue tones (see her Instagram feed for more) and they are fabulous!

Lisa @shiraz_and_sewing is using soft pink and blue tones (see her Instagram feed for more) and they are fabulous!

YOU CAN DO IT! Keep going, I promise it'll be worth it in the end!

Hop on over to my closed Facebook group to join the discussion, share pictures, ask questions, get encouragement. We are a community and we'd love to help you out!

In the Facebook group last week, I posted an option of adding a flying geese border which increases the size of the Sampler & Blizzard quilts to 90" square. Check it out if you are interested!

Snowflake QAL: Week Six

Jessie ZeiglerComment

I hope you enjoyed the break from the QAL last week. We're back at it today with Week Six!

Here are the specifics:

Snowflake Sampler: two 8" No Y Seam Feathered Stars

Star Flurries: two 20" No Y Seam Feathered Stars or Fierce Feathered Stars (your choice of construction method)

Feathered Star Blizzard: three 8" No Y Seam Feathered Stars


The 8" blocks can be found starting on p.39 of both the Snowflake Sampler and the Feathered Star Blizzard patterns.

Star Flurries folks, the 20" stars are nothing new to you. ;) You have SIX total left! Maybe you'll want to batch sew them? Maybe you'll want to enjoy the leisurely pace right up to the end of the QAL? The choice is yours!

These sweet blocks have stolen my heart! I just love the soft palette that @sarai_hobbies has made. (She's a great Instagram follow!)

These sweet blocks have stolen my heart! I just love the soft palette that @sarai_hobbies has made. (She's a great Instagram follow!)

This week of the QAL is sponsored by Lindsey Neill of Pen + Paper Patterns!  Before I kicked off this QAL, Lindsey helped me get the word out by making her own 36" Fierce Feathered Star. It's one of my favorite to date! 

Photo courtesy of Lindsey Neill.

Photo courtesy of Lindsey Neill.

Lindsey is a wonderful designer and has lots of cute patterns! Check out her Etsy shop for her beautiful work.

Lindsey's Sewology quilt made it onto this beautiful V-neck tee made by Patchwork Threads! She'll be gifting the winner of this week's drawing with a gift card to Patchwork Threads so that you can order it in your size.

Image from Patchwork Threads. Sorry, this shirt is no longer available.

Image from Patchwork Threads. Sorry, this shirt is no longer available.

Follow @penandpaperpatterns on Instagram to keep up with all of the inspiring things she does, and thank you so much, Lindsey!

Hop on over to my closed Facebook group to join the discussion, share pictures, ask questions, get encouragement. We are a community and we'd love to help you out!

Snowflake QAL: Week Three

Jessie ZeiglerComment
12" No Y Seam Feathered Stars

12" No Y Seam Feathered Stars

Here we are! Week Three is already here! Your challenge this week:

Snowflake Sampler: two 12" No Y Seam Feathered Stars

Star Flurries: two 12" No Y Seam Feathered Stars

Feathered Star Blizzard: four 12" No Y Seam Feathered Stars

Let's talk totals for each quilt. The Sampler & Blizzard folks will be tackling all of their 12" blocks this week. The Flurries people will do two 12" blocks this week and two 12" blocks next week. If you are printing templates and cutting fabric this week, you might want to do all that prep at once.

By now, you are a PRO at constructing the No Y Seam Feathered Star blocks! The 12" blocks go together in the same way as the 16" or 20" NYSFS blocks (depending on what you completed in the previous weeks). 

Remember to remove papers as you complete your blocks! I got into the habit of sewing by day and then removing papers by night in front of the tv. It makes the job more bearable, I think. Paper removal is not my favorite part of the process! ;)

I hope you're all experiencing the excitement of having the 129 fabric pieces come together to form each star! I'll leave you with this fanstastic 16" star made by Julie McLane!  What a great example of coordination and contrast! I love how all of our quilts will look so amazingly different and special when we're done!

IMG_4774.jpg

This week of the QAL is sponsored by Kate Basti of Quilt with Kate.  Kate is a graphic designer tuned quilter extraordinaire and is the author of some pretty great paper piecing patterns! She will be emailing a bundle of THREE pattern PDFs to the winner. Please refer to the weekly QAL email for specifics with how to enter this drawing. Make sure to check Kate out on Instagram, too: @katebasti.

IMG_4834.JPG

Have a great week! Don't forget to join our Facebook group here: Friends of Threaded Quilting Studio.

Snowflake QAL: Week One

Jessie ZeiglerComment
IMG_4659.JPG

*** Minor, little baby pattern errors found! ***

Special thanks to Jan Kaye for spotting this error, it affects the 16" blocks for both the Snowflake Sampler and the Feathered Star Blizzard patterns:

Pages 22 & 23 referenced incorrect square measurements in the color guide, it's not material to the pattern, but it could be confusing, so my apologies! NOTHING NEEDS TO BE RECUT! To update the pattern, I removed the exact dimensions on the color guide, all you really need to know is whether to use the bigger or smaller square sizes where referenced.


We've FINALLY arrived! Week One is here!

Your mission, should you choose to accept it, is to make:

Snowflake Sampler: two 16" No Y Seam Feathered Star blocks

Star Flurries: two 20" No Y Seam Feathered Star blocks or Fierce Feathered Star blocks*

Feathered Star Blizzard: three 16" No Y Seam Feathered Star blocks

*Star Flurries people: any time I refer to the 20", please know that you have the choice of constructing the blocks with paper piecing (NYSFS) or conventional piecing (Fierce Feathered Star). Use whichever method makes you happy and since there are 9 blocks, maybe you'll get bored and want to try both ways!

Let's begin, shall we?!

Printing: You'll need to print the paper piecing sections onto your preferred foundation paper. I use regular printer paper, but please use what you're most comfortable with. The most important thing to remember is to print at 100% or "actual" size, making sure your print dialog box is not set to auto-scale. A test square of 1 inch is provided on every page so that you can ensure accuracy.

You may want to get all of your printing out of the way at once or you may just want to print one week's worth at a time. For me, I printed one star at a time so that I wasn't emotionally overwhelmed with ALL THE PAPER! :) You do you, as the kids say.

TIP! If all of your blocks will have the same coloring, you may want to print one set, note the colors on each section and then make your required number of copies.

TIP! Using a marker or colored pencil to note the section also works well (not really applicable before making copies unless you're using a color copier).

Cutting unit templates: Make sure to cut around the templates outside of the dashed line. The space between the solid line and the dashed line is the seam allowance. I use a dull rotary blade to cut my templates apart.

Cutting fabrics:  I've written the cutting instructions by block so as to not overwhelm you with ALLLLLLL of the fabric cutting at once, but again, this is your preference.

There are a few square sizes that are very similar, it might help to label them. 

Sewing: If you've never foundation paper pieced before, I highly encourage you to watch my video tutorial series that will show you step-by-step how to complete this pattern. If this ain't your first paper piecing rodeo...  well, giddyup! ;) You should be just fine following the instructions in the pattern.

USE A SHORTENED STITCH LENGTH! Sorry to shout, but this is important. I'm using a 1.2 stitch length which is tiny, tiny, tiny. Anything 1.5 or smaller is okay. I'm also using the aforementioned regular copy paper which is kind of thick. I also use a strong poly thread, so I don't have thread breakage issues, and I use a 90/14 Microtex needle from Schmetz. Feel free to adjust any of these factors until you're happy with sewing and how the papers tear away.

Does your sewing machine have a thread cutting feature or button? If it functions properly: USE IT!!! I paper pieced for years before I started using mine and it was a game changer! The nature of paper piecing is sewing a bunch of small lines, starting and stopping frequently. You could chain some pieces together, but it's a little awkward. When you use the thread cutter, you don't have to hold your threads as you begin the next seam. That is a wonderful thing! You'll end up using less thread, too.

I could stop now and say "Go for it!", but... I want to do everything to make this super-enjoyable for you so I have in-progress pictures + captions from last summer's QAL.

While it doesn't really matter which order you sew all of the units (21 total), if you're just getting back into the groove of paper piecing, you may want to start with Unit I (as in igloo) shown in the next photo.

I used a dab of fabric glue to secure the center square positioned in the center of the template, covering the seam allowances on all sides. Place your folding aid (an expired insurance card here) along one seaming line, fold the paper back , align …

I used a dab of fabric glue to secure the center square positioned in the center of the template, covering the seam allowances on all sides. Place your folding aid (an expired insurance card here) along one seaming line, fold the paper back , align the Add-A-Quarter ruler and trim before adding your triangle accent pieces. It makes the alignment of the triangles a bit easier.

When aligning a triangle piece along its bias side as illustrated here, imagine a straight line traveling from the corner of the area you will be covering, with the right angle of the triangle you're adding, like shown above. Use this technique with…

When aligning a triangle piece along its bias side as illustrated here, imagine a straight line traveling from the corner of the area you will be covering, with the right angle of the triangle you're adding, like shown above. Use this technique with all applicable units.

Unit A (but this applies to all units that have pieces adjoining on 2 sides). Try not to stitch into section A8 (where my stiletto is pointing) because it'll affect how you fold and trim when the time comes to add the fabric for A8.

Unit A (but this applies to all units that have pieces adjoining on 2 sides). Try not to stitch into section A8 (where my stiletto is pointing) because it'll affect how you fold and trim when the time comes to add the fabric for A8.

BEWARE! Avoid lining up fabrics as shown above. This is Unit A, but it applies to most units. When adding a lighter fabric, make sure that it completely covers the dark piece beneath. Otherwise, you'll get shadowing (dark fabric in the seam allowanc…

BEWARE! Avoid lining up fabrics as shown above. This is Unit A, but it applies to most units. When adding a lighter fabric, make sure that it completely covers the dark piece beneath. Otherwise, you'll get shadowing (dark fabric in the seam allowance is visible from the quilt top through the light fabric). If the piece shifts while you sew and you do experience shadowing: Before sewing the next piece, carefully trim small amounts of the dark fabric away until it no longer extends beyond the lighter fabric on top. Watch a quick video showing this.

YES! This is the same piece from the previous photo sewn successfully. This is what you want. :)

YES! This is the same piece from the previous photo sewn successfully. This is what you want. :)

When I'm piecing spines, I think in terms of covering the "upright" triangle (outlined in red dashed lines). I make sure the new triangle is "leg-down". Also, it's important to note that I'm making sure I cover the 1/4" seam allowance on both t…

When I'm piecing spines, I think in terms of covering the "upright" triangle (outlined in red dashed lines). I make sure the new triangle is "leg-down". Also, it's important to note that I'm making sure I cover the 1/4" seam allowance on both the right (unmarked) and left side of this spine.

Once it's sewn in place and finger-pressed, you can see how it's in perfect position.

Once it's sewn in place and finger-pressed, you can see how it's in perfect position.

Most units will use the sewing sequences shown thus far. The exception would be Units J, K, L & M. I have a quick video here showing how to align those fabrics quickly and easily. For some reason, it's easy to get turned around in this unit.

Once all units are sewn, they'll need to be seamed together. Refer to the diagram in the pattern to arrange and seam the pieces together. Here's one short video tip showing how to avoid a common mistake when sewing the units together.

PIN!

Assembling sections: Pinning is important, if you're into accuracy. There's no other way around it. I've made sooooooooo many stars over the years and I still pin (a lot) every time. I promise it's worth it. Adequate pinning can make ALL the difference in not having to unpick seams. And let me tell you: It's not fun to unpick stitches sewn at a 1.2 length!

I start pinning at the point-matching places from one unit to the next. There is also a photo of what my pinning looks like in the pattern. I run a straight pin on and through the solid, black seaming line of one unit and match it up at the exact point on the other unit. I'll match several pins running straight through the pieces before I'll readjust them in order to sew.

Alright, this makes more sense watching it, so here's a very quick gif showing what I mean. 

If you'd like to see the regular speed version of this along with the verbal play-by-play, check out this video (at the 2:25 mark).

If you'd like to see the regular speed version of this along with the verbal play-by-play, check out this video (at the 2:25 mark).

Removing papers: I used to wait until a top was all assembled before removing papers because I liked using the solid black lines to expertly assemble a whole quilt top in the most precise manner. But now, I trust in the accuracy of my 1/4" seam allowance without having to sew on the line and papers are a lot easier to remove in a 8", 12" and 16" square rather than having the weight and bulk of a whole twin-sized top in your lap. So go ahead and remove your papers after you complete each block, I think you'll be glad you did!

Press: After papers are removed, give each block a good pressing. I tend to let the seams fall to the side they want to go. 

Hop on over to my closed Facebook group to join the discussion, share pictures, ask questions, get encouragement. We are a community and we'd love to help you out!

QAL FAQ

Jessie ZeiglerComment

Here we are less than one week away from beginning the next quilt-a-long! I wanted to answer a few questions that have come up. I hope this helps you! If you have any additional questions, please leave a comment or get in touch with me through email: threadedquilting at gmail dot com.

IMG_4659.JPG


1. How will the QAL work?

Each Sunday beginning December 31 (this Sunday!) and lasting for 10 weeks, I will email a new challenge out to the participants. I consider anyone who bought one of the three new patterns to be a participant. The email will have a challenge for that week. Depending on the pattern, it'll be about 2 stars per week. I will also post the challenges publicly here in the journal section of my site.

2. What if I can't keep up?

This is a fairly fast-paced QAL, participate as you're able. My goal is to provide support and fun along the way. The last thing I want is to create added stress in your life! No need to apologize for not keeping up! This is meant to expand your skills, challenge you to sew and create, provide community. There will be no guilt-tripping!! :) 

3. Are there prizes?

YES! I can't wait to feature other pattern designers as we go! Most of these designers will be known to you, but if not, I can't wait make an introduction! Since paper piecing is kind of "our thing", I focused on designers who have paper piecing patterns for giveaways!

Prize winning will be based on a mix of general participation and completing specific weekly challenges. I will rely on social media posting on Facebook and Instagram to see who is participating. Please make sure your posts are "public" so that I can see them!

4. The fabric requirements seem like a little much. What's going on?

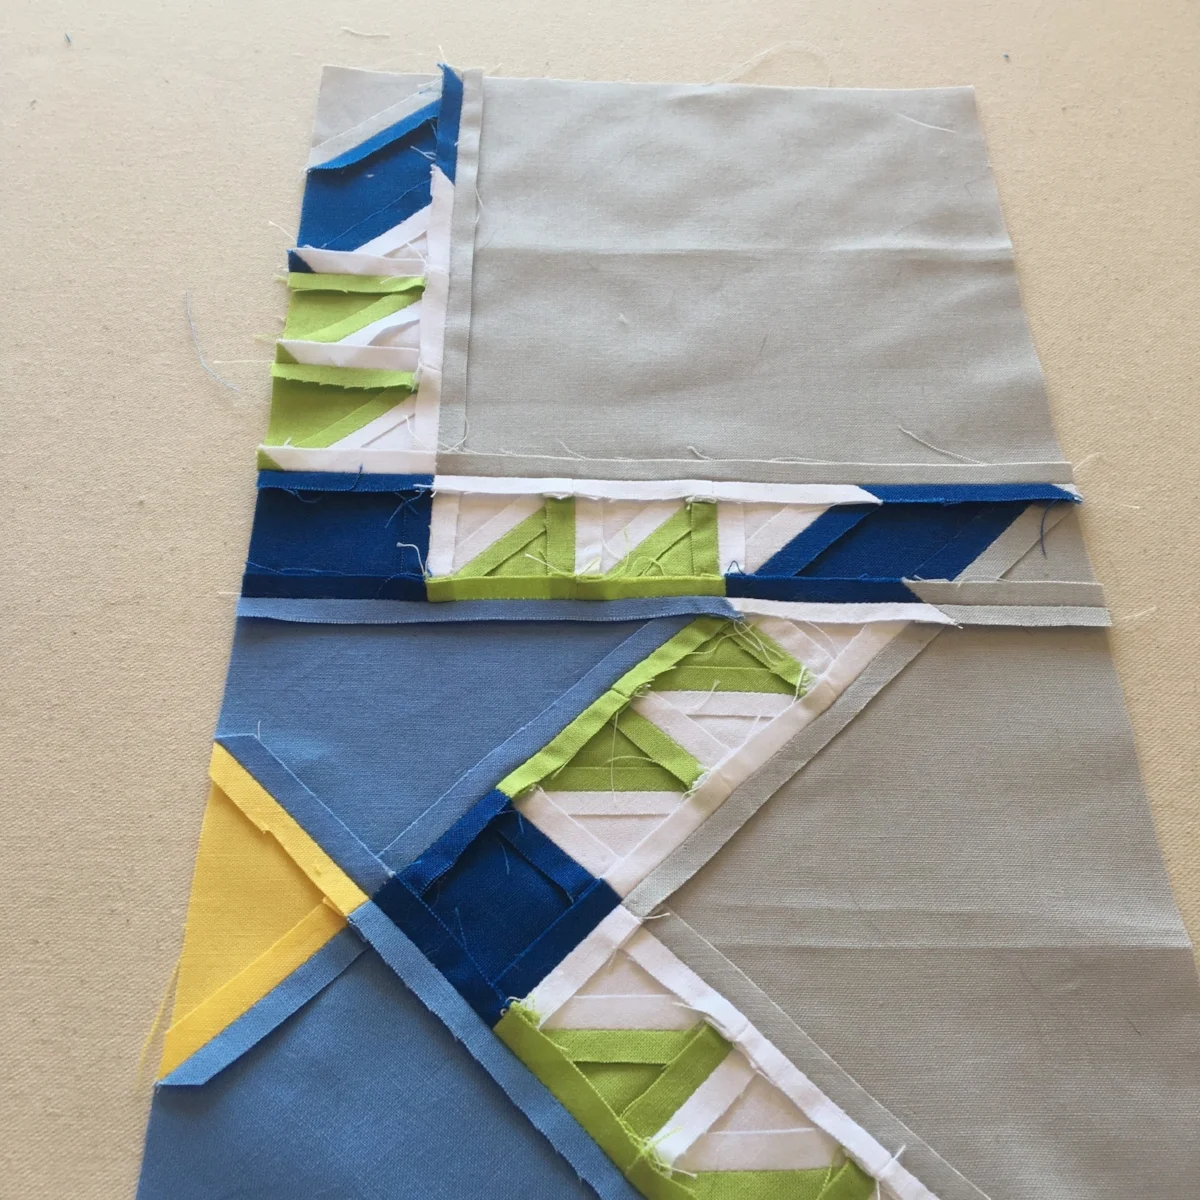
The Star Flurries and Feathered Star Blizzard patterns can be exclusively paper pieced and because of this, more waste is involved than with conventional sewing methods. This is a reality of paper piecing. 

If you plan to use the Fierce Feathered Star method for sewing the 20" stars instead of the paper pieced versions, you can expect to use slightly less fabric. For the patterns that give you the choice, I listed the fabric requirements assuming one would paper piece the stars, just so there would be no shortage.

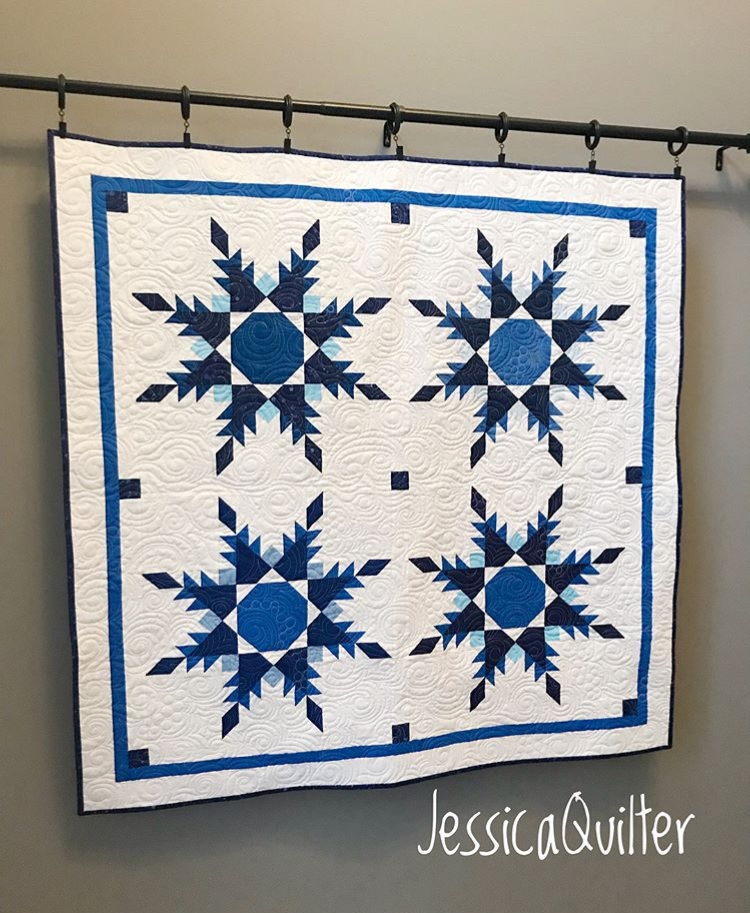
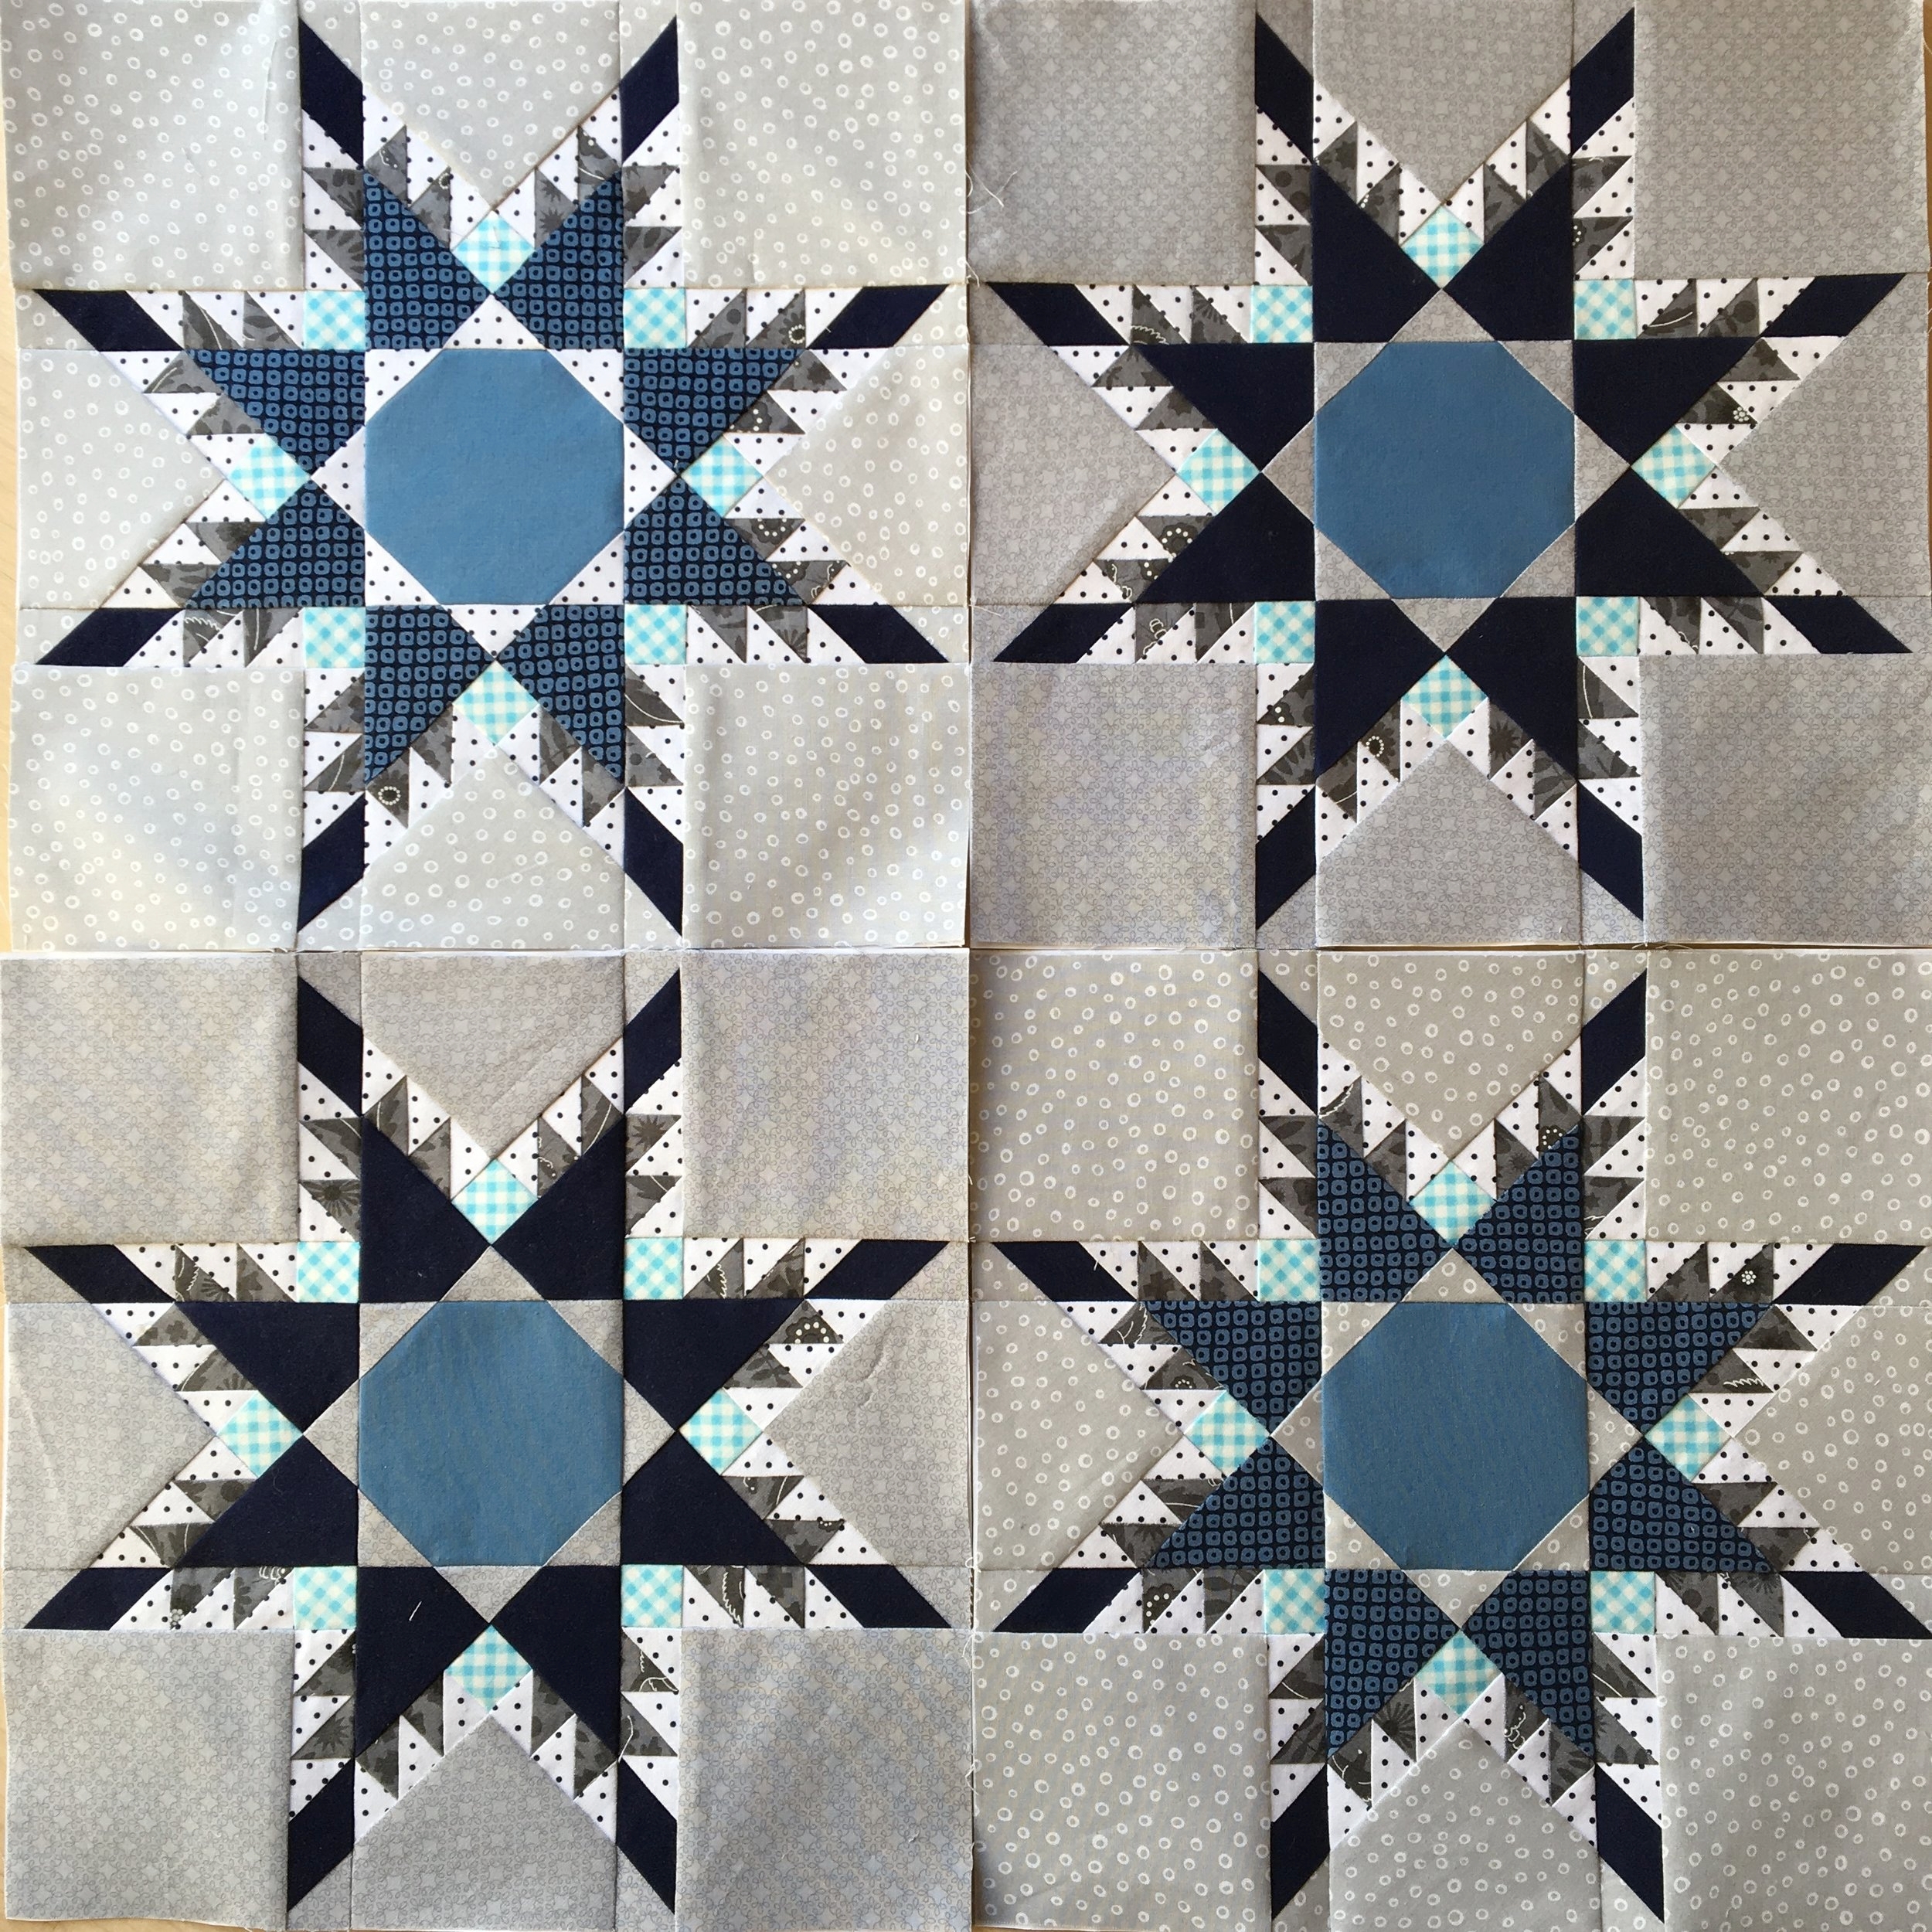
5. What's with all the shades of blue?

This winter QAL uses fabrics to make the feathered stars resemble snowflakes! I thought it was easier to classify the fabrics by shade (light, medium dark, etc.) but perhaps Fabric 1, Fabric 2, Fabric 3, etc. would have been easier! My apologies if you find it difficult to keep track. I'd encourage you to use the "my swatch" pages preceding each star size to help you stay organized.

6. What size of needle to you use when paper piecing?

I use Microtex Sharps either a 90/14 needle or 80/12 needle. Using the larger (90/14) needle, may help papers better perforate and tear away if that is an issue. I reach for whatever one is new and sharp and haven't had an issue with either size.

Amazon affiliate link:

7. I've paper pieced a few stars to get used to the pattern and have dulled the points of my spines. Any suggestions?

Two (or more?) things could be happening. Pressing could make a difference. I actually only use my fingers to press while I'm constructing. Sometimes it looks like the very end of my points are gone, but after I *really* get in there to crease the fabrics with my fingers, it looks better. Use the pressing method that will yield the best results. You might want to experiment with finger pressing, using a wooden iron, using a mini iron or using your regular dry iron to find the method that works best for you.

Another thing to consider is that when you're adding your last piece of fabric to a unit with spines, sew on the outside edge of the black line to give yourself a smidge more space.

8. What about a two-fabric quilt? Would that look good?

Oh heavens yes! I think two-color quilts are amazing and I think this pattern would look outstanding in two tones.  (We want a picture if you do this!)

9. Do I need to buy any additional lessons?

Nope! The pattern is thorough and complete on its own. The patterns are advanced and assume knowledge of foundation paper piecing. I will add supplemental tips to my weekly emails and to my journal entries as we progress, but there are no further costs involved.

Buy your pattern here in my shop if you haven't done so already!


Feathered Star QAL: Week Seven

Jessie ZeiglerComment
Next up are the 20" Fierce Feathered Star blocks!  You'll notice there is no paper used to sew these pieces together. ;)

Next up are the 20" Fierce Feathered Star blocks!  You'll notice there is no paper used to sew these pieces together. ;)

Welcome to Week Seven! There are no more paper piecing stars to tackle, so we're getting FIERCE this week!

Week Seven instructions: Complete two 20" Fierce Feathered Star blocks. There are only two in the quilt.

I would encourage you to look through the Fierce Feathered Star instructions in total before you begin. Notice how the Fierce block goes together in the end just like the No Y Seam Feathered Star block.

If you are using the fabric kit or a similar coloring scheme as mine, I've laid out the cutting instructions for you on page 4 of the Feathered Star QAL pattern. Because we're no longer dealing with foundation paper piecing, it's important to get the cutting measurements exact. I really, really want you to use washi tape or some other method to mark rulers for easier cutting. When it comes to using 16th of an inch measurements, it's very easy to make a mistake!

Once the fabric cutting is done, follow the Fierce Feathered Star block pattern to make two blocks. You will need to print and cut out two templates for the 20" star. Like with the paper piecing templates, make sure these templates are printed at 100%. Use the inch square provided on each template page to test accuracy. You will tape these templates to a rotary ruler to easily trim (pictures of each step in the pattern).

I also recommend doing a lot of pinning throughout.

In the photo above, notice how I use the same pinning technique as I did with the NYSFS pattern for lining up points, even though there's no paper. Pin liberally to get great results!

YOU CAN DO IT!

Hop on over to my closed Facebook group to join the discussion, share pictures, ask questions, get encouragement. We are a community and we'd love to help you out!