

Hellllllllllllo, Club 129! How is it going?
Just joining our adventure? Catch up on the first three weeks here:
As for this week, here are the specifics:
Snowflake Sampler: Boders & Bonus Stars
Star Flurries: two 12" No Y Seam Feathered Stars
Feathered Star Blizzard: Borders & Bonus Stars
Star Flurries participants: You know what to do! By now, you're an expert!
Snowflake and Blizzard patterns:
Go ahead and cut everything in the Putting it all together cutting section toward the end of your pattern, even though we will not use all of the pieces this week.
As for the first sewing assignment, complete the instructions on the bottom of p. 64 (Sampler) or p. 46 (Blizzard) under the Inner borders section. Don't worry, it's two tiny seams and some trimming. Piece of cake!
The bulk of this week's work will be completing pp. 65 & 66 (Sampler) or pp. 47-49 (Blizzard).
We will be using the Magic 8 method for making half-square triangles as detailed in the pattern. I just wanted to mention here that the HSTs are intended to be a little oversized and trimmed down to exact specifications.
As you're sewing the larger squares together, try to align the outer edges as best as possible, but don't worry if they end up like the next photo. I don't pin the squares together or go to any other heroic measures, the trimming step will make them perfect!
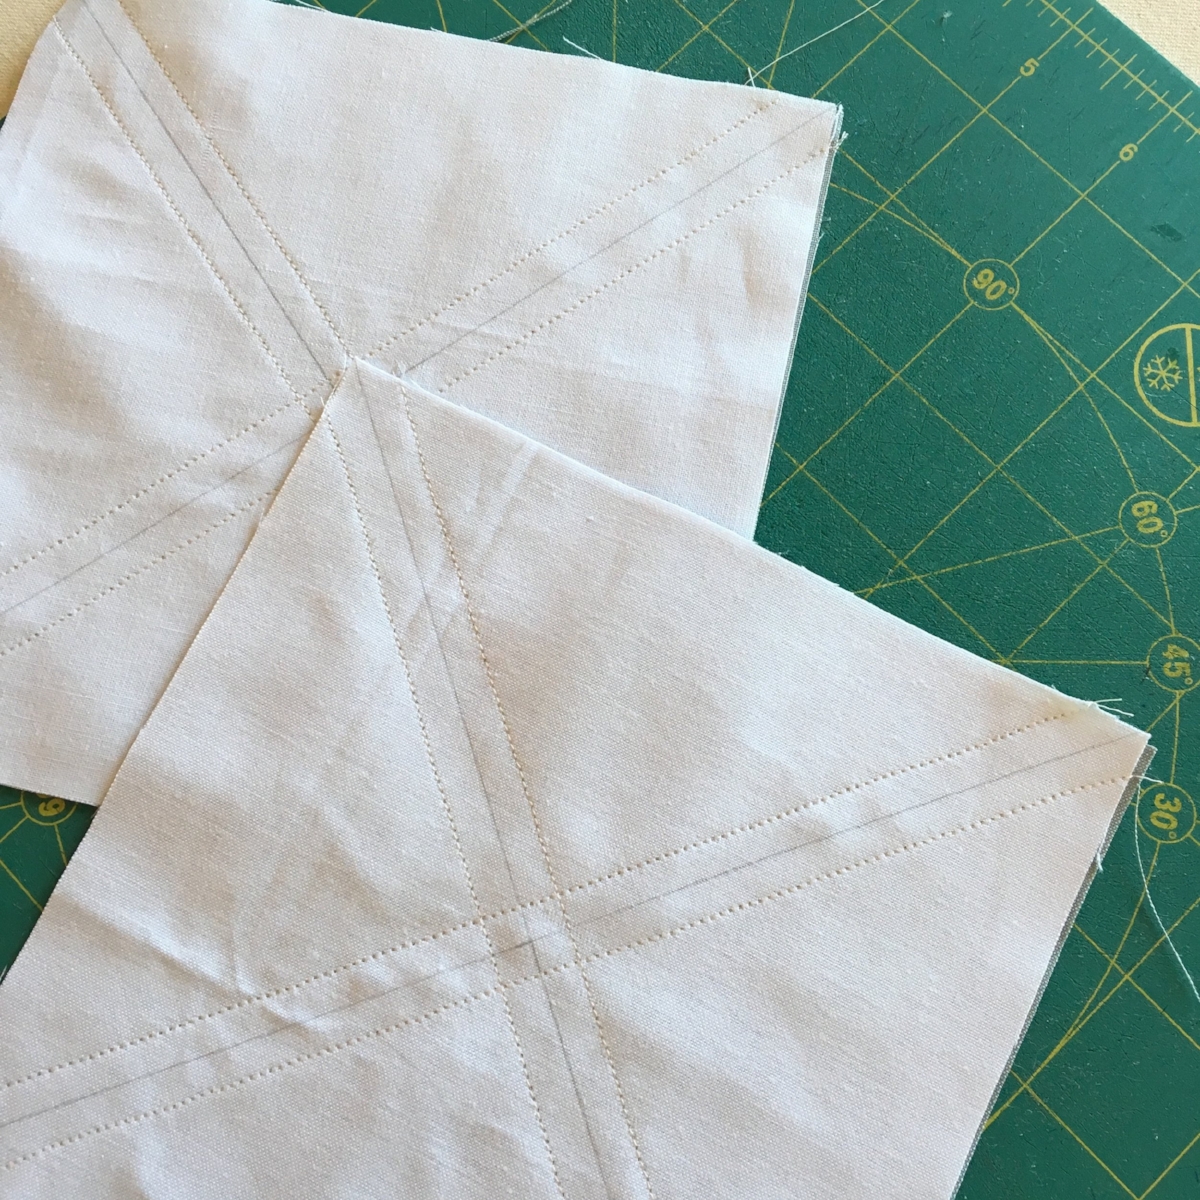
I set my stitch length is a little shorter (2.2) than what I normally use to discourage unraveling after all the cuts are made.

Stacks on stacks!
This week of the QAL is sponsored by Tara Curtis of WEFTY! If you have not seen a WEFTY needle before, you neeeeeed to check it out! There are crazy-amazing designs that can be accomplished with these small but mighty tools!
Tara is generously awarding a prize pack of WEFTY needles, her Woven Stars variation pattern, an EZMiter AND the EZMiter baby quilt pattern! Basically, she's spoiling us! Thanks, Tara!
Follow her on Instagram for innovative and inspiring projects!
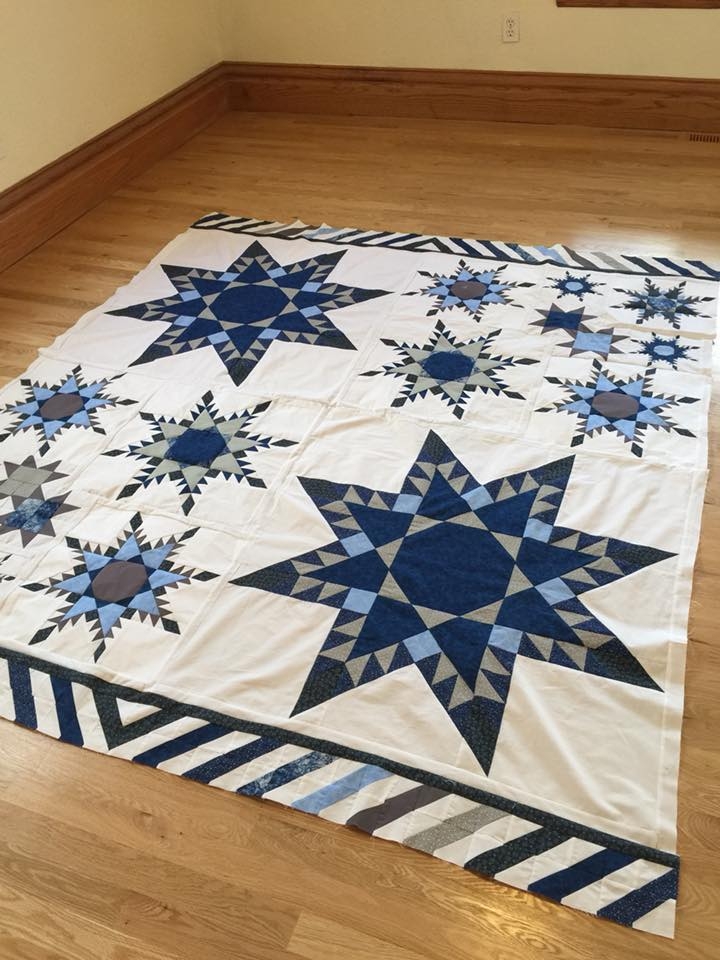
Would you believe that we've had our first top finish?!?! I know!!! Donna Barrieau shared this in our Facebook group! Isn't it incredible? And not to mention that she got this accomplished during Week Three! Beautiful work, Donna! Thank you for inspiring us... and making us envious at the same time! :) HA!
Wishing you a productive week! Don't forget to join our Facebook group to connect with other QAL participants!