Lisa's progress! @duhquilts on Instagram.
Welcome to Week Seven!
Snowflake Sampler: two 8" No Y Seam Feathered Stars
Star Flurries: one (this is a correction) 20" No Y Seam Feathered Stars or Fierce Feathered Stars (your choice of construction method)
Feathered Star Blizzard: three 8" No Y Seam Feathered Stars
I'm continually inspired by all of the progress photos I see! I say to myself "That's my favorite one!"... for every single star or group of stars I see! :) haha
What I LOVE is the diversity of color palettes. This group is making the patterns their very own!
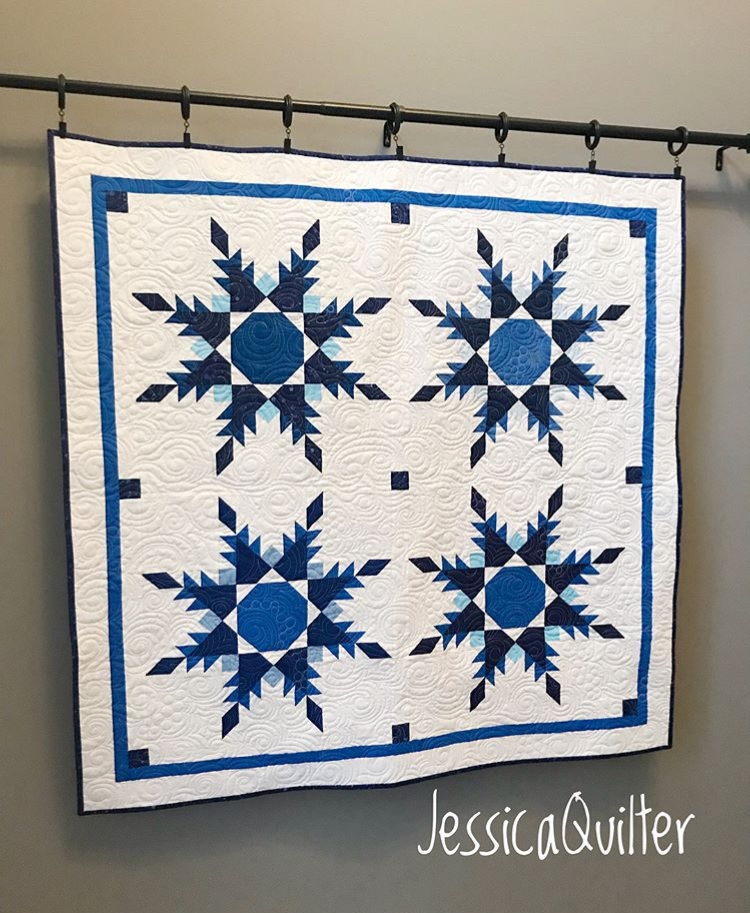
JessicaQuilter made her own layout design using the 20" feathered stars. Look at her beautiful quilting!

Lisa @shiraz_and_sewing is using soft pink and blue tones (see her Instagram feed for more) and they are fabulous!
YOU CAN DO IT! Keep going, I promise it'll be worth it in the end!
Hop on over to my closed Facebook group to join the discussion, share pictures, ask questions, get encouragement. We are a community and we'd love to help you out!
In the Facebook group last week, I posted an option of adding a flying geese border which increases the size of the Sampler & Blizzard quilts to 90" square. Check it out if you are interested!