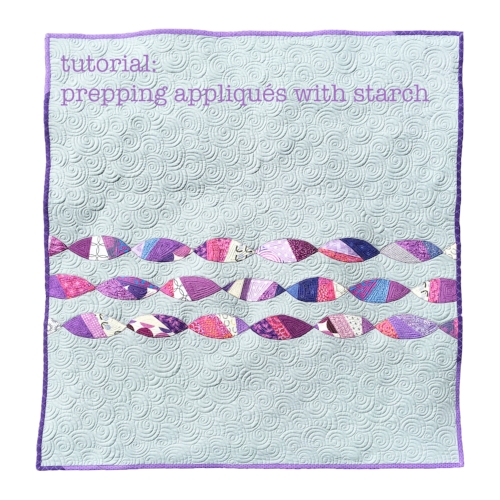
Thanks for joining me in Part Two of this applique tutorial! Part One covers preparing the appliqués by turning their edges with starch prior to attaching them to the quilt top.
In this tutorial, we'll take a look at the process I used for attaching the appliqué to the quilt top for this Purple Petals baby quilt.

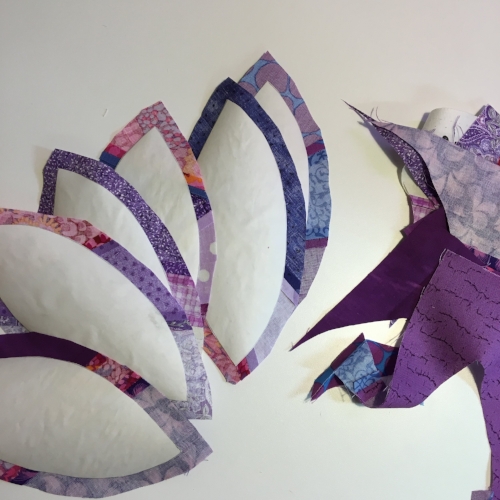
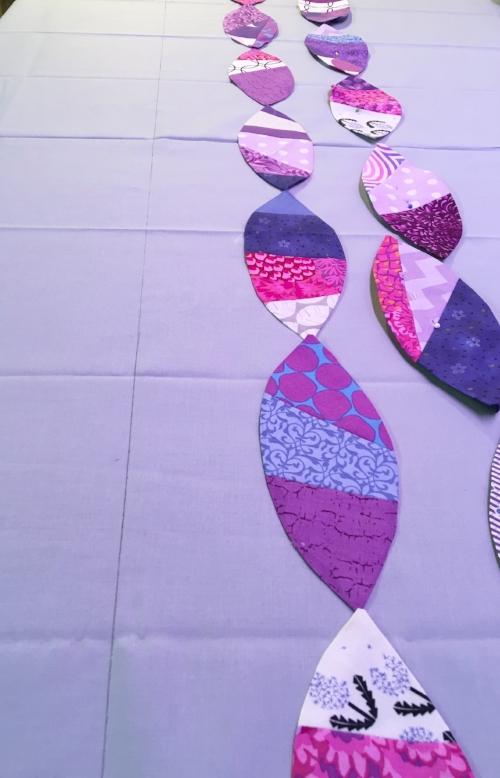
I had 23 of these petal shapes to work with, so I began by playing! This design definitely evolved as I began working. I can't tell you how much it helps me to not only step back from my design wall as I'm working but to TAKE A PICTURE! Seeing a picture of your work will help you gain a new perspective. There is such a thing as getting too up close and personal with your work!

Playing with petal placement ideas

Trying a more organized approach to arrangement

Trying different placement of appliqués on my design wall
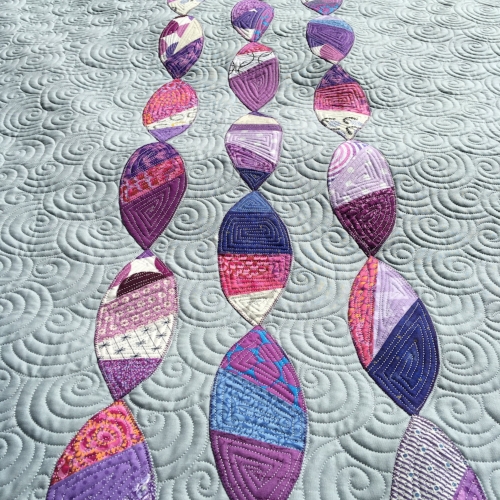
This was the first time it occurred to me that my petals looked a lot like orange peels!

Design evolving...

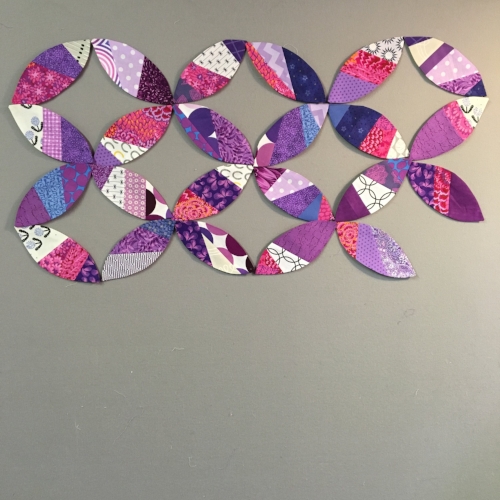
This is the placement I landed on (after a few picture texts to my sister asking for advice)!
Once I decided on a design and placement of the applique, I pinned the appliques to the background fabric and moved it to my cutting table/workspace. I started by aligning the middle row of petals so that I could off-set or stagger the appliques in the row above and below it.

Appliqués pinned down in their designated space

Petals are staggered or off-set from row to row

I used a Frixion pen from Pilot and a ruler to mark registration three straight lines horizontally across the width of the quilt. Ink from Frixion pens erase with heat or friction from the attached eraser but I would not use them on any parts of the quilt that would ever be visible. Since I knew these lines would be covered by appliqués, even if the marks would come back, they'd be covered. I needed to include that disclaimer! These pens can be a great tool if used appropriately, but since there have been accounts of the lines reappearing in cold temperatures, I would never risk using them to mark quilting lines, for example.
Registration lines made with a Frixion pen
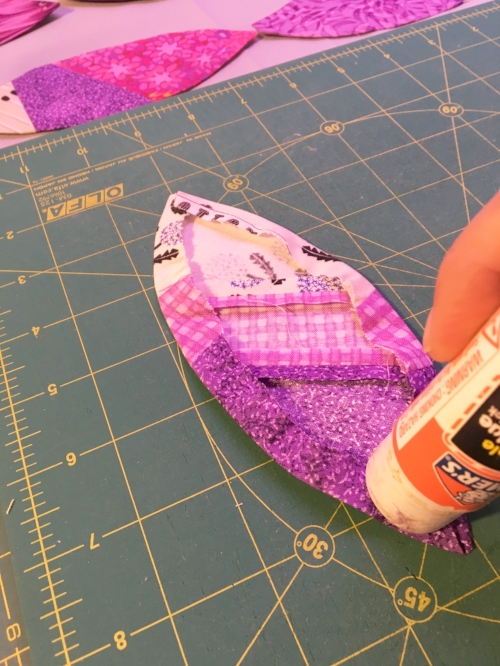
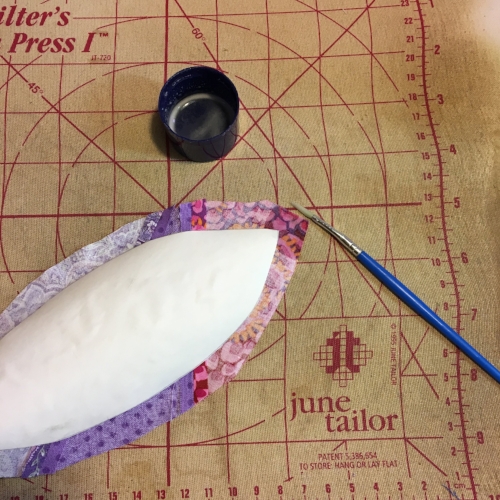
On the back side of the appliqué, I used an Elmer's purple washable glue stick and applied it around the seam allowance area. I didn't have to use any on the middle of the shape, although you could if you wanted or needed to.

On the bottom row of appliqué, I began by placing a petal that I wanted to be right between the petals in the row above. I also tried to get the end points of the petal shape to align with the drawn line. After the first petal was in place, I continued gluing and sticking the rest of the petals one by one across the entire drawn line. I pressed each petal down with my fingers so the glue made contact with the background fabric. I waited until all petals were glued and positioned before ironing.

Appliqué shapes positioned end-to-end with no space between

After I had all of the petals glued and stuck into place, I and trimmed the petals that extended beyond the quilt top.

I carefully moved the quilt top to my ironing board and used a hot, dry iron to press each petal into place.


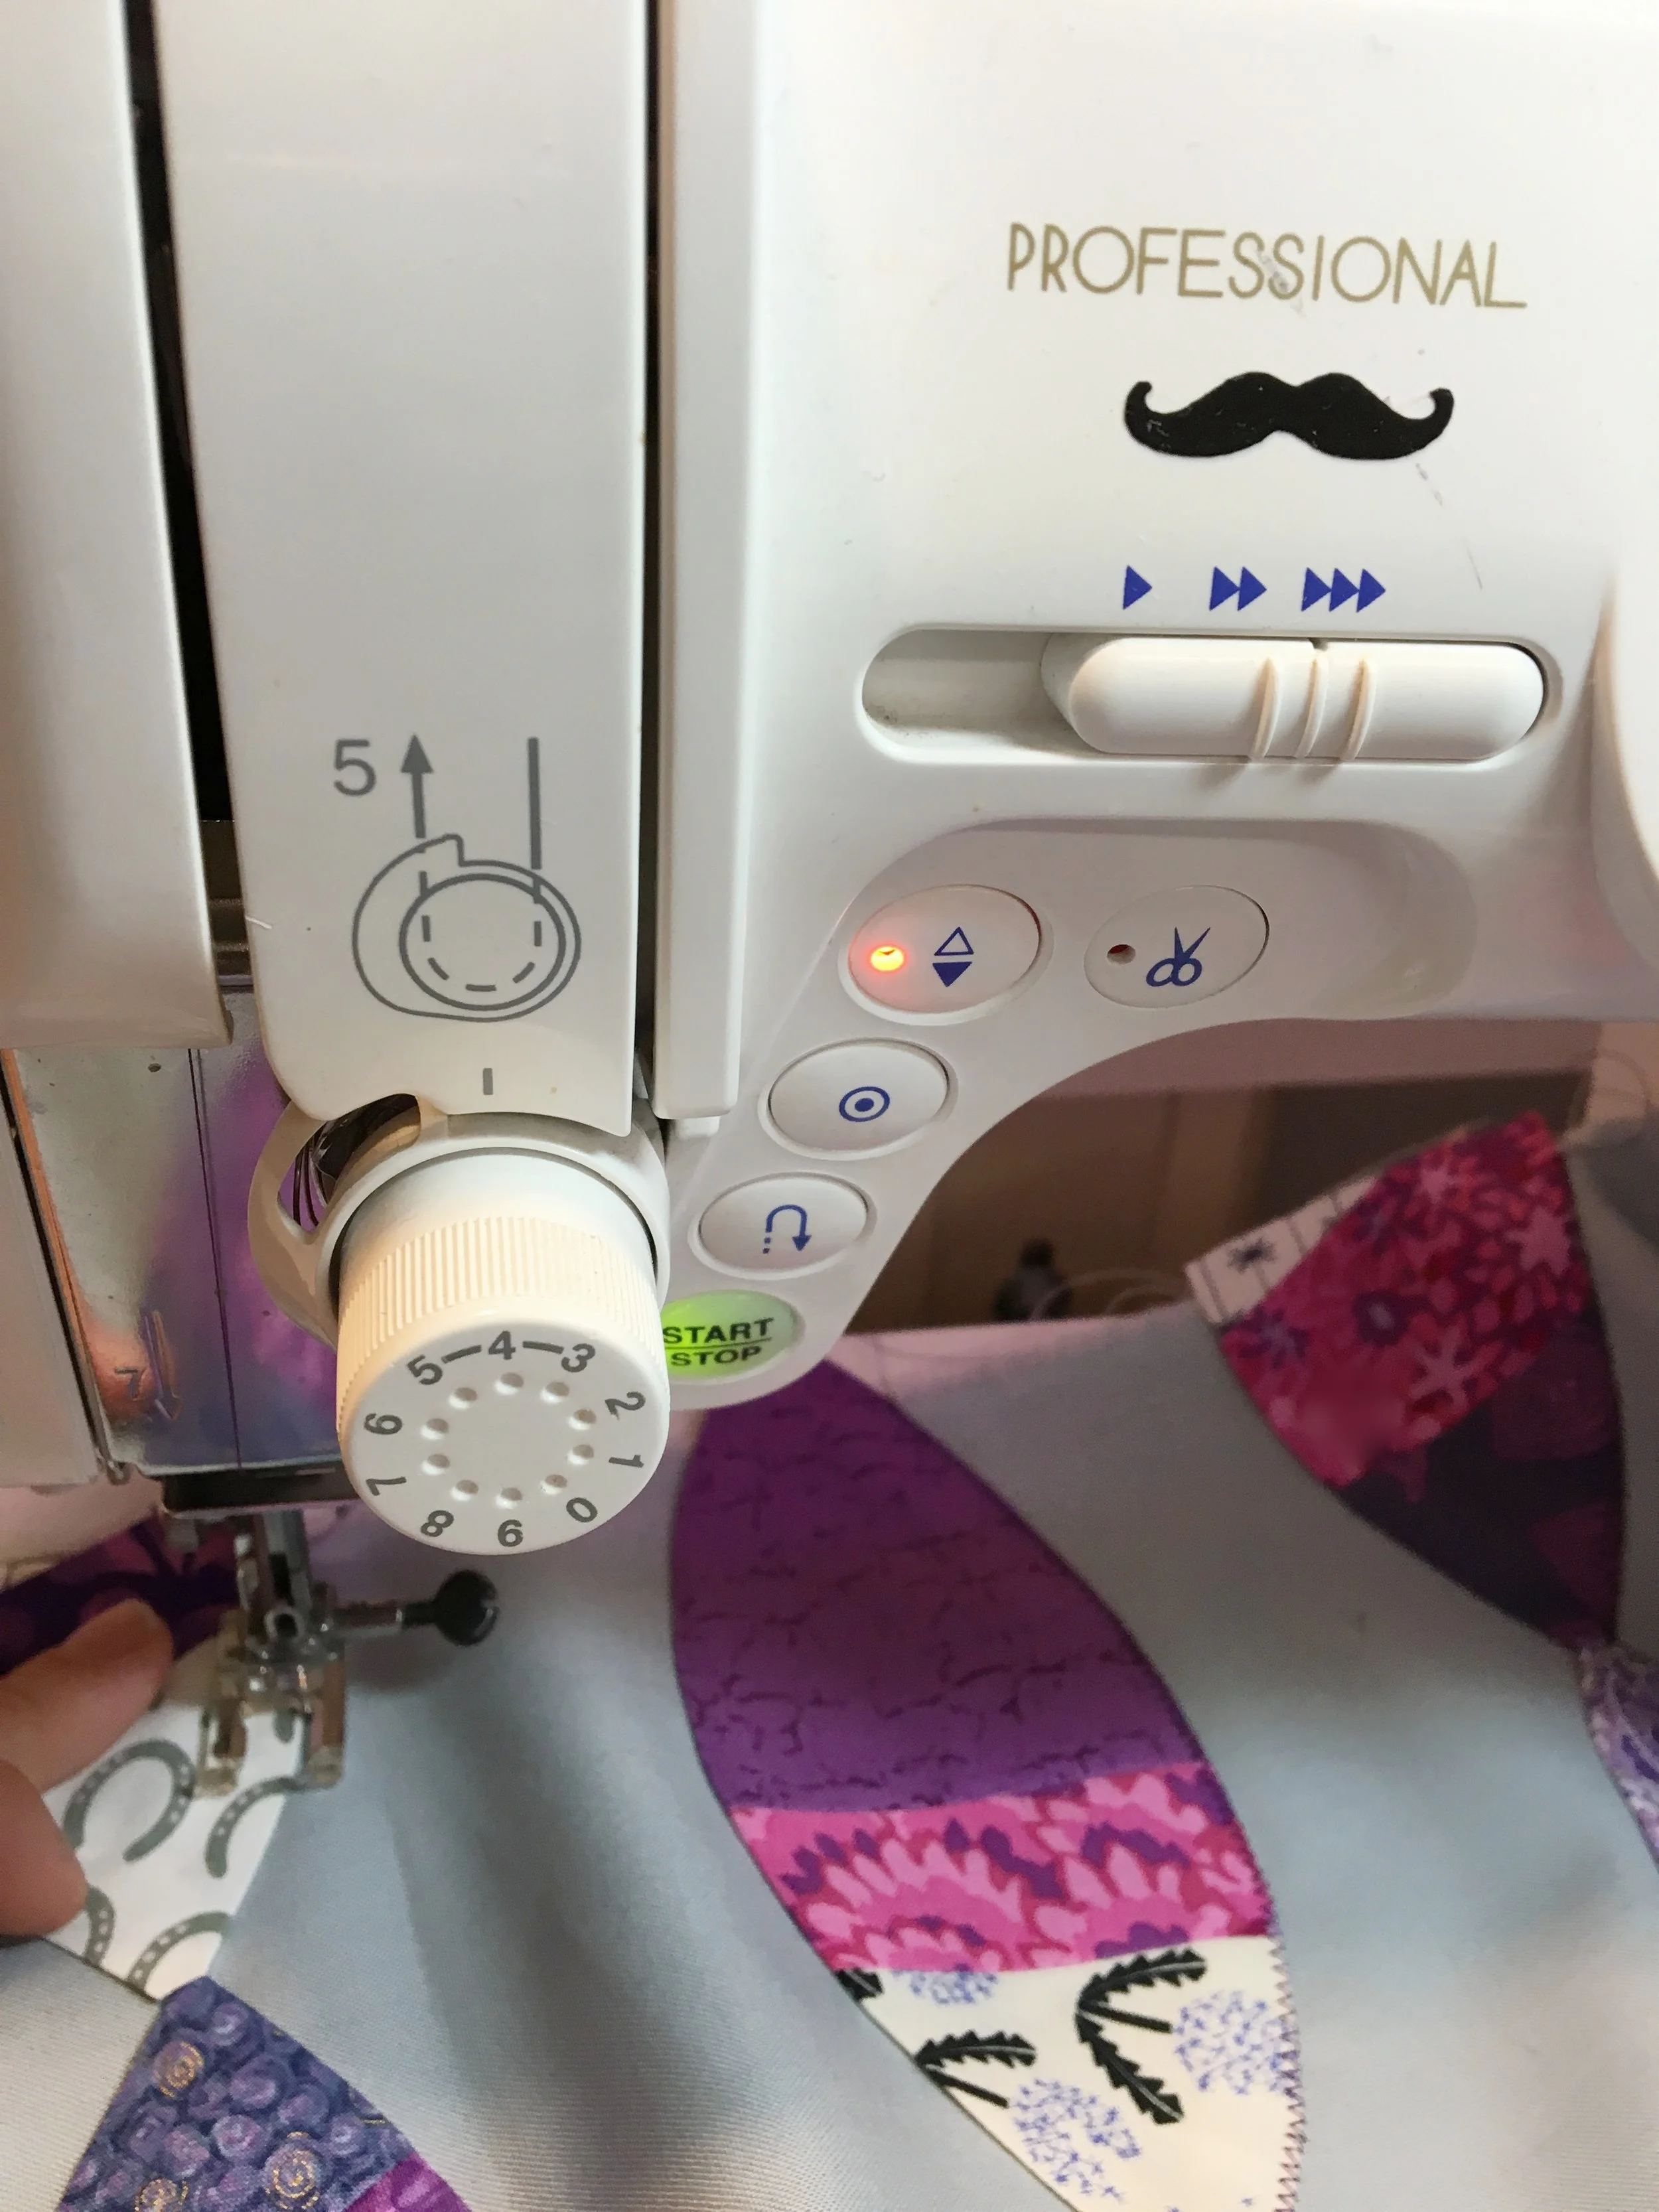
Your milage my vary, but I wanted to share a photo of my sewing machine display so that you could see that I used a zig zag stitch and made it narrower and shorter than its default setting. You could use a different size of zig zag stitch, blanket stitch, satin stitch, invisible hem stitch, straight stitch... whatever you like! Experiment on a fabric scrap until you get the look that you like.
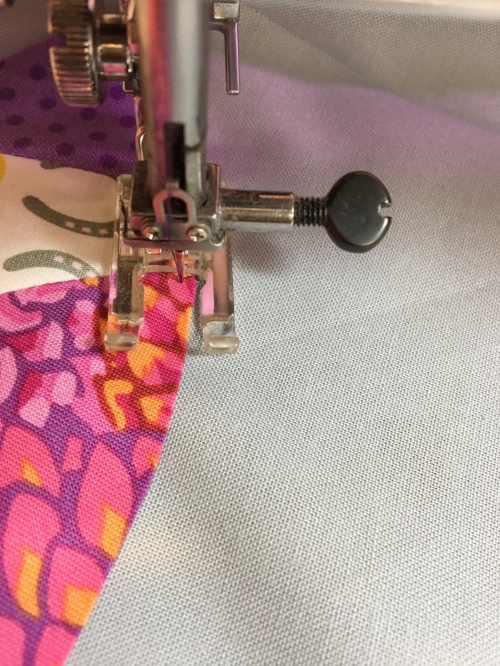
I positioned the quilt sideways so that the petals were aligned vertically and the 3rd (bottom) row of appliqué was under my needle. I stitched all of the way down the right edge of the appliqué petals. I did not travel all the way around each shape, but instead I continued along the right edge of the next petal shape as shown in the photo below.

When stitching applique into place using a zig zag stitch, I aim for the right position of the needle to land just beyond the appliqué shape into the background fabric as shown in the next photo.

As the stitch progresses and the needle transitions to its left-most point, the needle should come down on the appliqué shape as shown in the next photo. With this particular design, I was able to steer around the gentle curves without a whole lot of stopping, starting and repositioning. In other words, it was PDQ (pretty darn quick)!

Petals sticthed continuously along the right edge
Instead of stitching along the left edge next, I worked on the right edge of the 2nd (middle) row of petals. I did this because the rhythm of the zig zag stitch and its orientation to the needle and the appliqués is exactly the same. You would hate to kill the flow, too! :)

After the second row of petals was stitched, I moved on to the first row of petals, again, stitching along the right hand edge of the appliqués and working my way down the entire row.
If you can set your needle to be in the down-position when it stopped, it's very handy when doing this kind of work, especially if you do need to pivot or rotate.
Once all three rows of right edges were stitched down, I rotated the quilt 180° so that the unstitched edge of the appliqués was positioned on the right. I continued stitching in the same manner as before: petal after petal without stopping.

First petal row is compete

Second petal row is stitched

All appliqués secured with stitching
After all the edges were stitched down, I folded the quilt in half. With the folded edge close to me and the selvedge edges from the bottom and top layer carefully aligned, I used a rotary cutter and 24" rotary ruler to trim a clean edge. I finished the top by trimming the other side and lastly the top/bottom edge.

At this point, I loaded the quilt top on my longarm frame and went to town on all of that yummy negative space! I recorded a video tutorial about how I do the overlapping spirals design shown, if you'd like to give it a go. The overall texture can be so amazing on solid fabric with that expansive "canvas"!


I hope that by giving you a peek inside my studio for the making of this quilt, it'll inspire you to try something out of your norm! It can be so refreshing and fun!