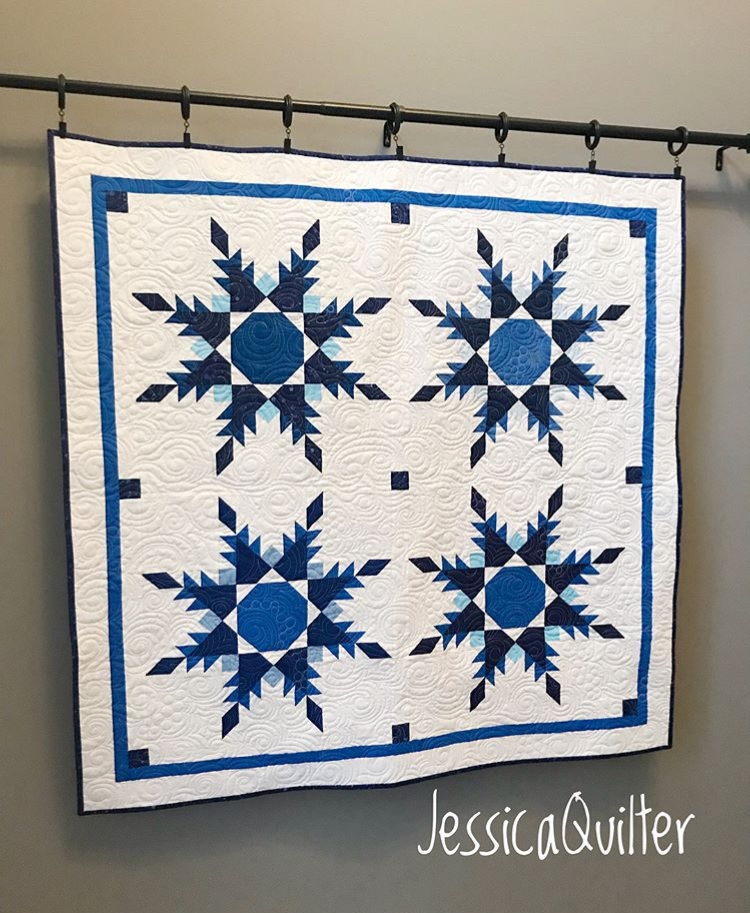
Kelly Levant's quilt pictured here (her photo) called Summer Stars was recently accepted into Quilt Canada 2018! Congratulations, Kelly!
WEEK TEN!
Inspiration time! Kelly participated in the first Feathered Star QAL this summer. Just this week it was accepted into a juried show–her first! Well deserved, Kelly! We will be rooting for you this May!
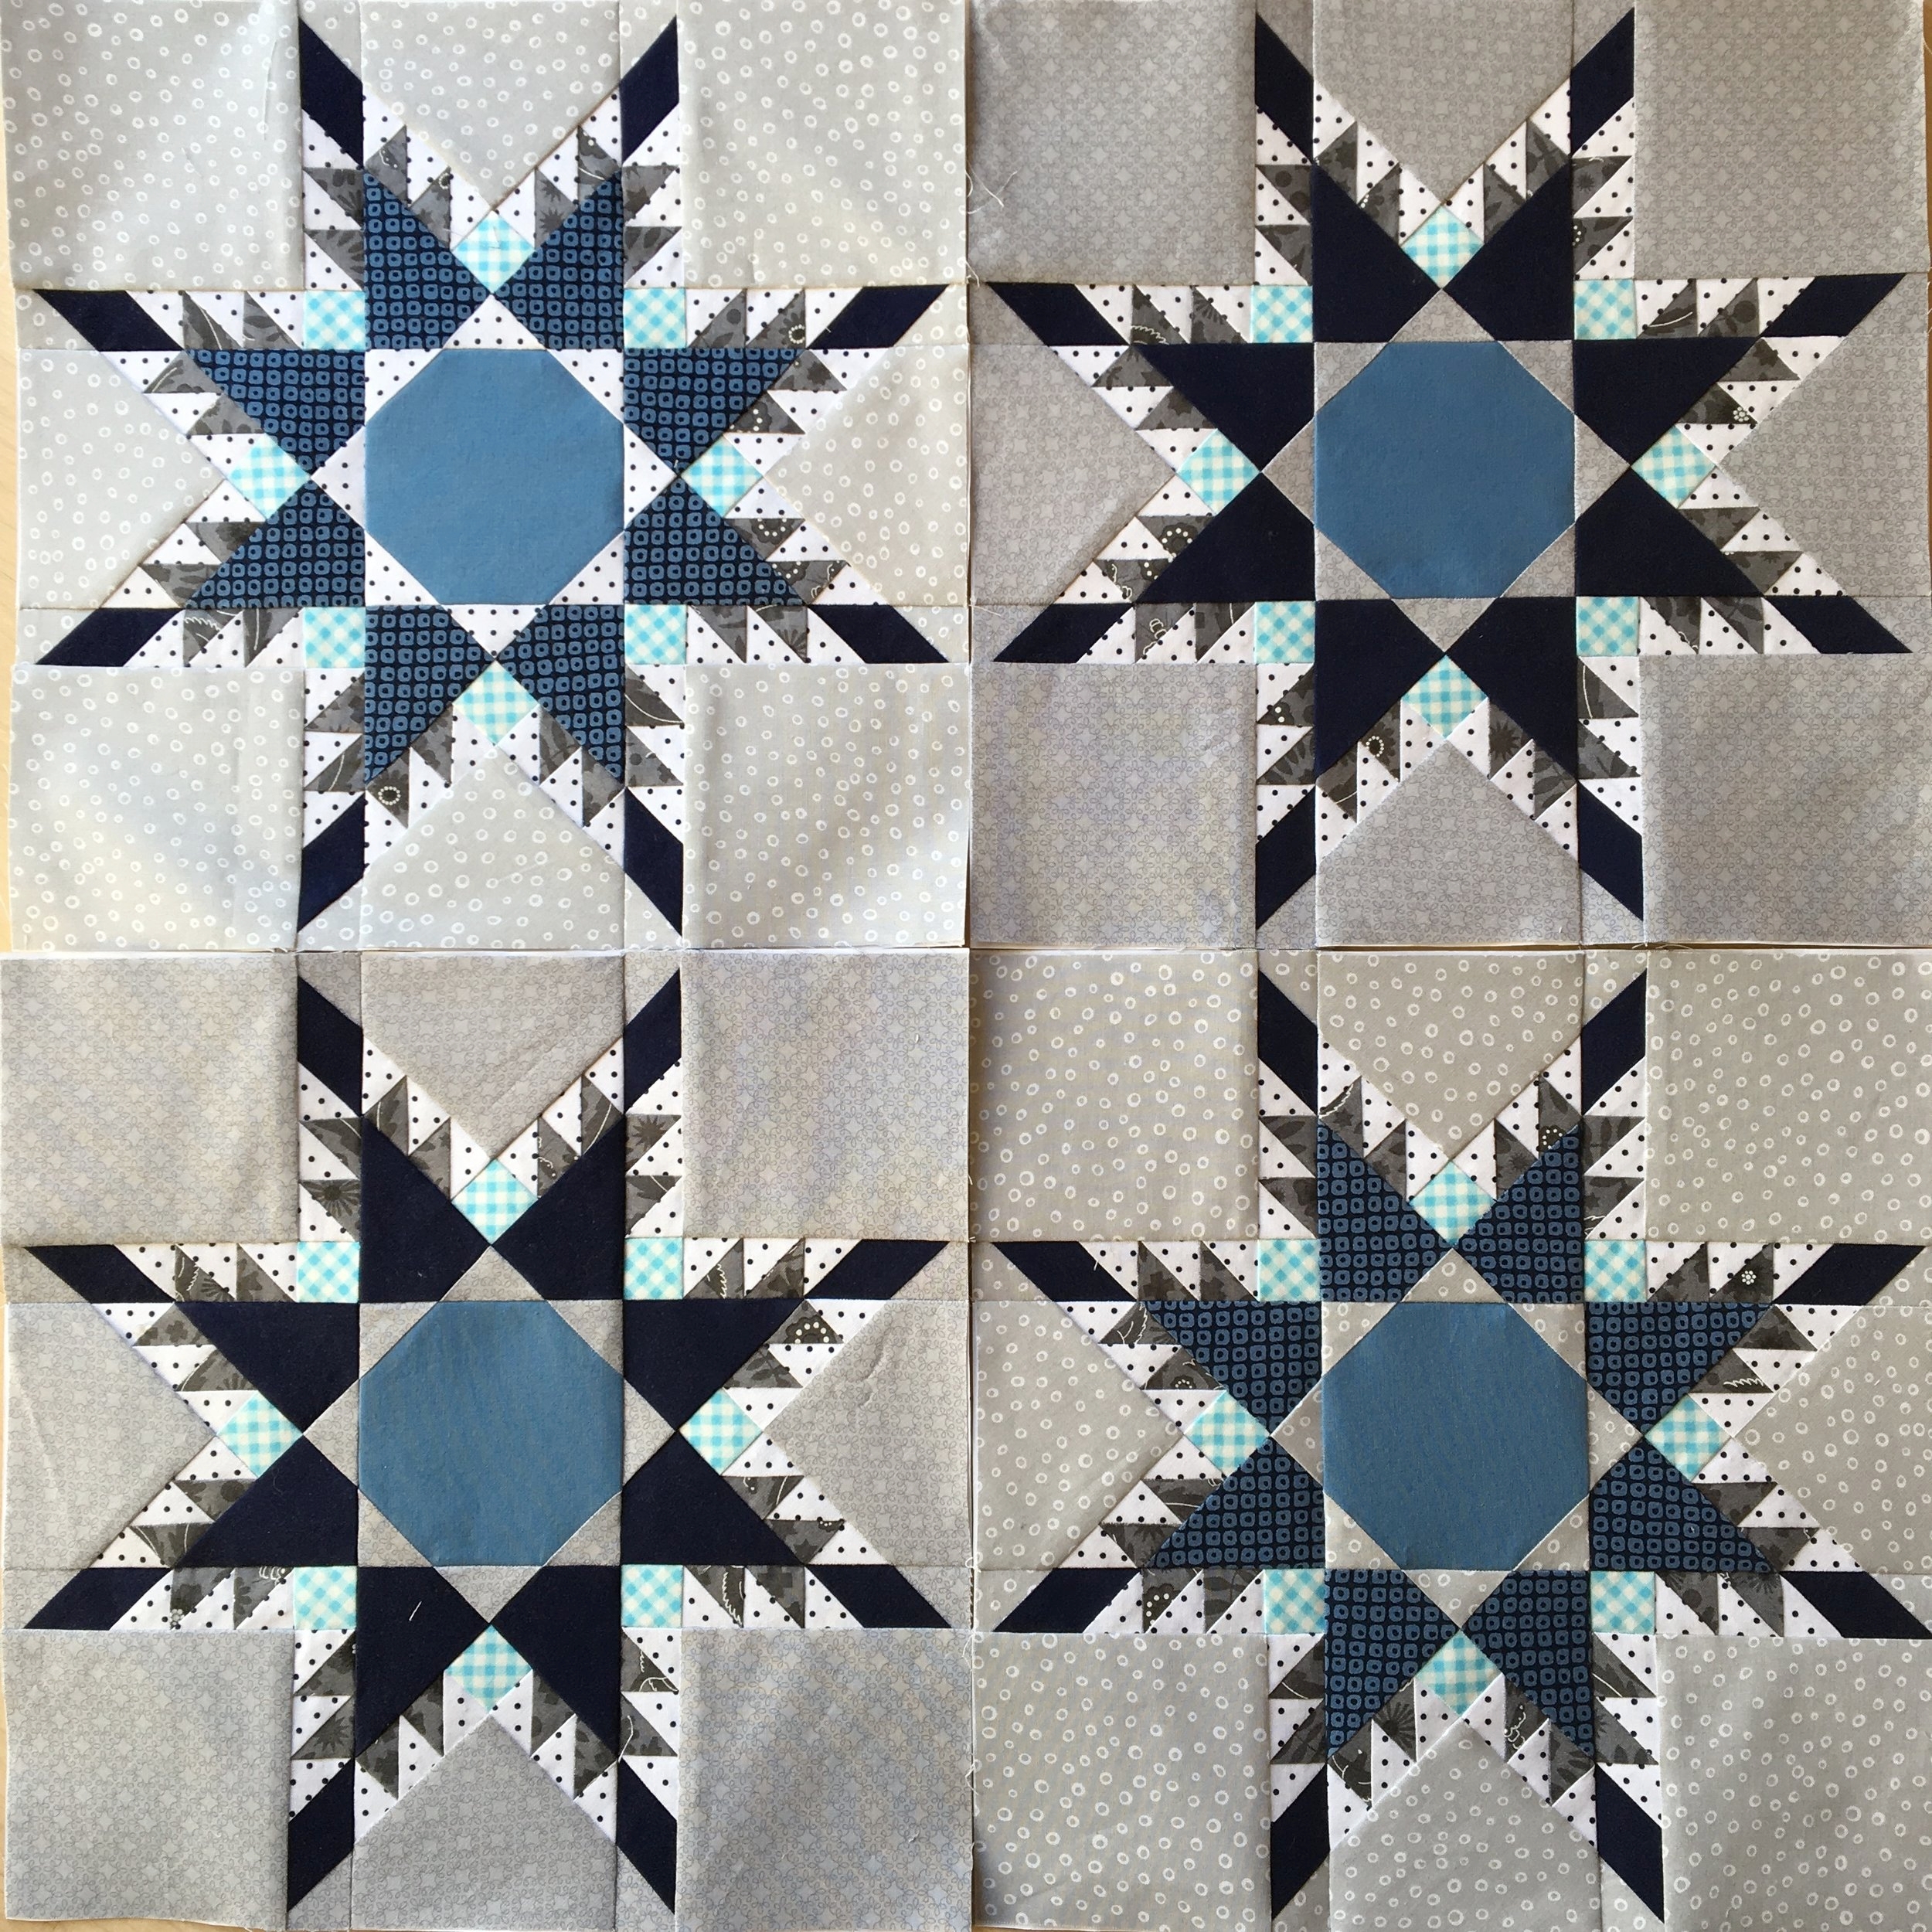
Snowflake Sampler: assemble quilt top, p.62
Star Flurries: assemble quilt top, p. 39
Feathered Star Blizzard: assemble quilt top, p. 44
If you haven't removed your papers, I would highly suggest you do that before you sew any applicable sashing strips to your blocks before assembly. I think it is soooooo much easier to pick out papers block by block instead of having a whole lap of work to get through.
Refer to the pages of your pattern given above and complete the rest of the pattern!
OHMYGOSH, I'M GETTING SO EXCITED TO SEE YOUR TOPS!
Nagging reminder time! To get great results, go slow, take one step at a time, check and re-check your sewing in relation to the diagrams, PIN CAREFULLY AND FREQUENTLY, sew and press with care.
You've got this!!