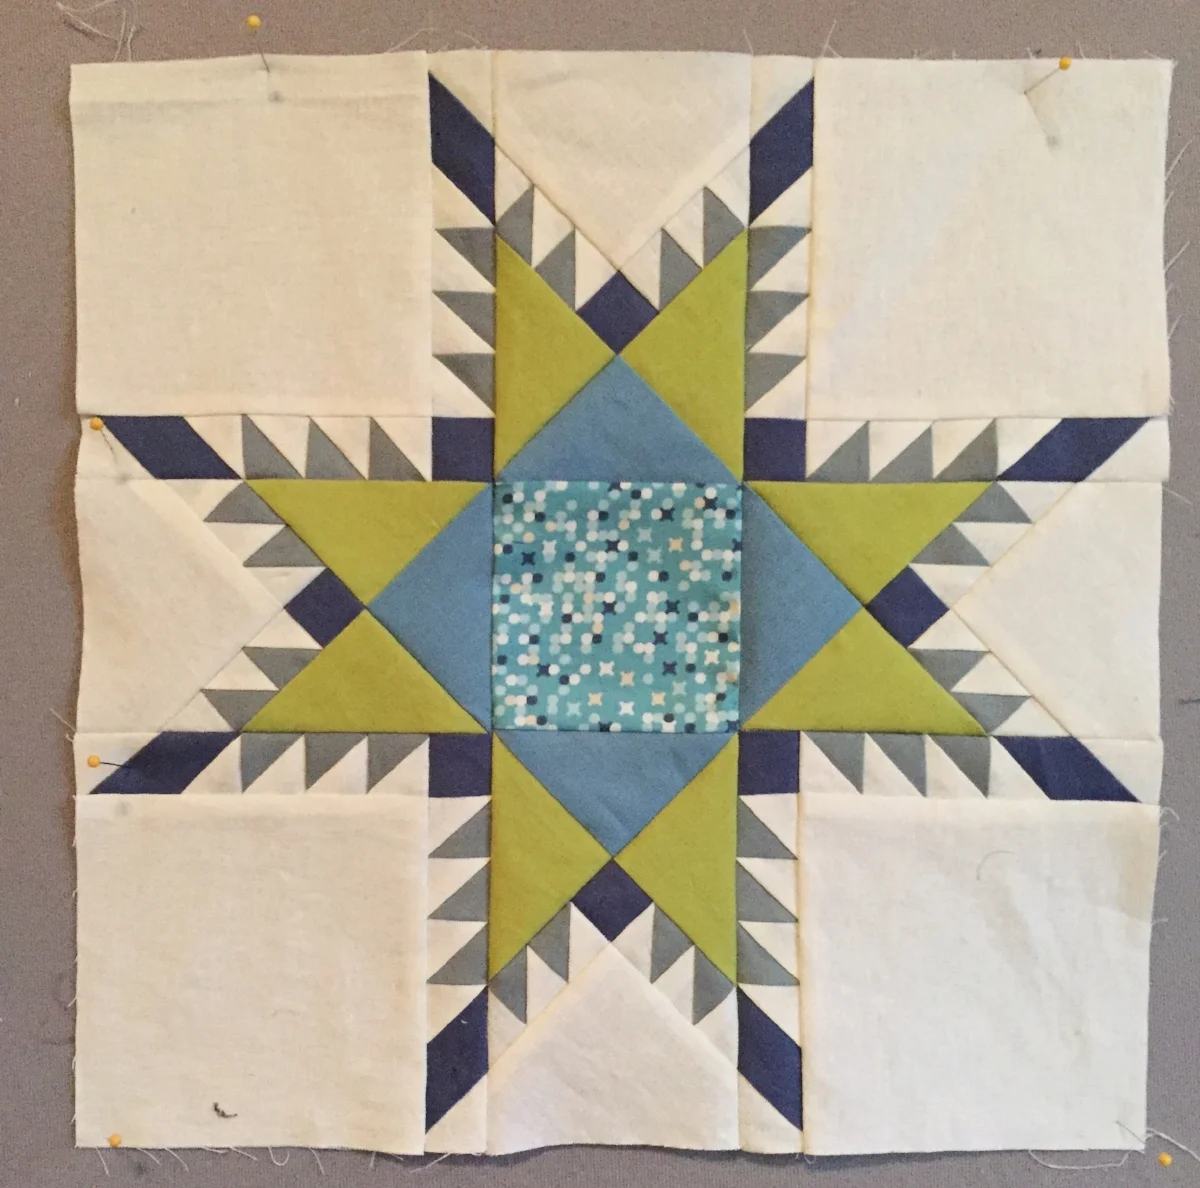
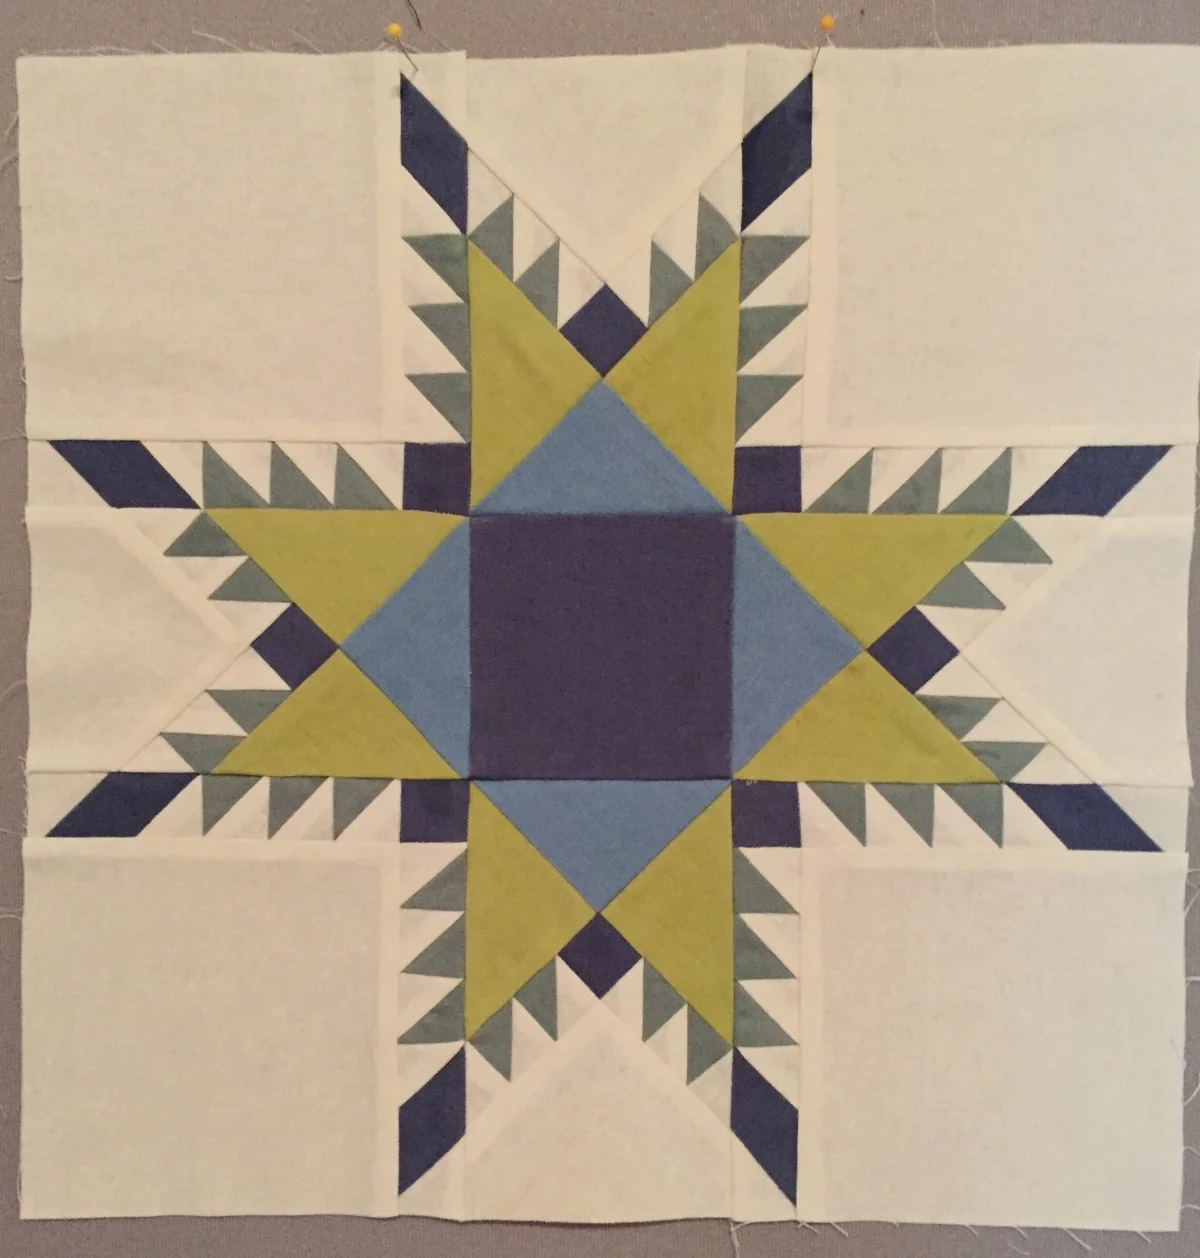
This is the 16" No Y Seam Feathered Star. We'll make two for Week One!
PLEASE NOTE: If you bought the kit or bought yardages specifically based on my original yardage requirements, I would like you to cut all of the White and Chartreuse fabrics (or their equivalents) before we start. I've written a sequencing suggestion with diagrams to ensure you get the most out of your fabric. Please measure twice and cut once, as they say!
To be transparent: I used EQ7 estimates for the fabric yardage because I've known them in the past to be generous. They mostly were generous, except for the White (2.25 yards) and Chartreuse (.75 yard) quantities. It might be the construction techniques I use in the pattern, but as I cut my way through the whole quilt, I would have preferred extra fabric to account for any cutting errors. I have since changed the requirements in the pattern and online.
*****
We've FINALLY arrived! Week One is here!
Week One is all about getting our feet wet with the 16" No Y Seam Feathered Star block. We will be making a total of four for this quilt, but let's just focus on two this week.
Let's begin, shall we?!
Printing: You'll need to print the paper piecing sections onto your preferred foundation paper. I use regular printer paper, but please use what you're most comfortable with. The most important thing to remember is to print at 100% or "actual" size, making sure your print dialog box is not set to auto-scale. A test square of 1 inch is provided on every page so that you can ensure accuracy.
If you bought the PDF bundle, print pages 34-39 of the PDF if you haven't already. You'll need 4 copies of each page total.
If you're working from the No Y Seam Feathered Star PDF (original, not bundled), it's pages 16-21 of the PDF even though the page numbers at the bottom of each page are 15-20 (the cover page isn't numbered). You'll need 4 copies.
Even though we'll only be working on 2 of the blocks this week, I find it easier to print all the copies for the 16" block at once.
TIP! If all of your blocks will have the same coloring (like mine will), you may want to print one set, note the colors on each section and then make 3 copies.
TIP! Using a marker or colored pencil to note the section also works well (not really applicable before making copies unless you're using a color copier).

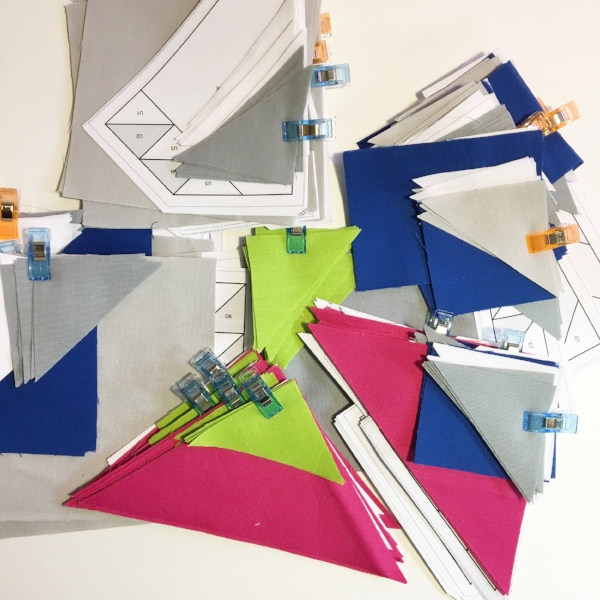
Cutting unit templates: To efficiently cut the templates apart, I stack all of the same pages together (add staples if you prefer, I don't find it necessary) and cut through the 4 pages at once. I like to use a dull rotary cutter that I've set aside for paper use to do the cutting. Make sure to cut outside of the dashed line. The space between the solid line and the dashed line is the seam allowance. Once all units are cut out, separate half (two complete sets: Units A-U) to be used this week.
Cutting fabrics: I've written the cutting instructions by block so as to not overwhelm you with ALLLLLLL of the fabric cutting at once. I want to get to the fun sewing part, too!
On page 3 of the Feathered Star QAL pattern, the instructions include quantities for FOUR stars, so cut them all, and then set half of each quantity aside for next week. Yes, that's a spoiler, we'll be working on the last two 16" stars for Week Two. :)
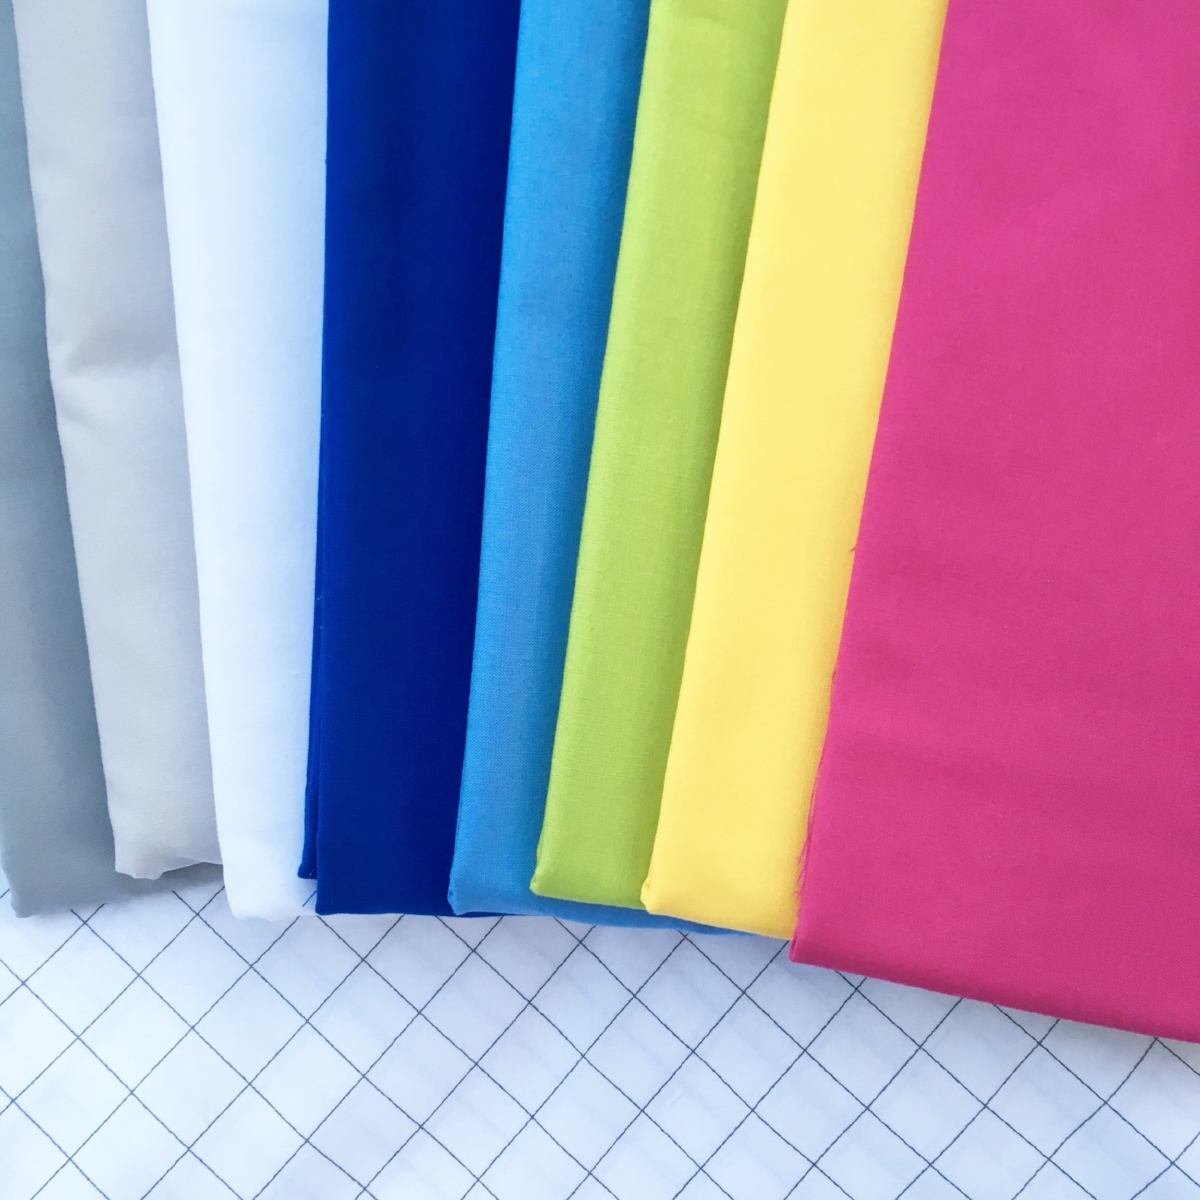
Note: I'm working with two shades of gray. Shadow is the lighter shade of gray and used in the background (including the first triangle pieces adjacent to the "star tips", positioned toward the perimeter of the block i.e., pieces A1, B1, C1, D1, E1, F1, G1, H1). This is a slightly different coloring scheme than what is written in the NYSFS pattern where all the background spines are the same color. In this QAL, I have white as being my main background spine color that contours the star points. Iron is the darker gray color and is used for the spines and centers of this 16" block.
There are a few square sizes that are very similar, it might help to label them. For example, the 5" Shadow squares will be used with Units R-U and the 5.5" Shadow squares will be used with Units A-D. Do what you need to do to keep your pieces organized.
Sewing: If you've never foundation paper pieced before, I highly encourage you to watch my video tutorial series that will show you step-by-step how to complete this pattern. If this ain't your first paper piecing rodeo... well, giddyup! ;) You should be just fine following the instructions in the pattern.
USE A SHORTENED STITCH LENGTH! Sorry to shout, but this is important. I'm using a 1.2 stitch length which is tiny, tiny, tiny. Anything 1.5 or smaller is okay. I'm also using the aforementioned regular copy paper which is kind of thick. I also use a strong poly thread, so I don't have thread breakage issues, and I use a 90/14 Microtex needle from Schmetz. Feel free to adjust any of these factors until you're happy with sewing and how the papers tear away.
Does your sewing machine have a thread cutting feature or button? If it functions properly: USE IT!!! I paper pieced for years before I started actually using mine and it was a game changer! The nature of paper piecing is sewing a bunch of small lines, starting and stopping frequently. You could chain some pieces together, but it's a little awkward. When you use the thread cutter, you don't have to hold your threads as you begin the next seam. That is a wonderful thing! You'll end up using less thread, too.
I could stop now and say "Go for it!", but... I want to do everything to make this super-enjoyable for you so I took photos (captioned for your pleasure) as I was sewing my test block together to illustrate a few other tips and/or reminders.
While it doesn't really matter which order you sew all of the units (21 total), if you're just getting back into the groove of paper piecing, you may want to start with Unit I (as in igloo) shown in the next photo.

I used a dab of fabric glue to secure the 5" center square positioned in the center of the template, covering the seam allowances on all sides (it's tight so if you're slightly short, don't worry, it's going to be fiiiiiiine). Place your folding aid (an expired insurance card here) along one seaming line, fold the paper back , align the Add-A-Quarter ruler and trim before adding your triangle accent pieces (in Chartreuse for my block). It makes the alignment of the triangles a bit easier.

When aligning a triangle piece along its bias side as illustrated here, imagine a straight line traveling from the corner of the area you will be covering, with the right angle of the triangle you're adding, like shown above. Use this technique with all applicable units.

Unit A (but this applies to all units that have pieces adjoining on 2 sides). Try not to stitch into section A8 (where my stiletto is pointing) because it'll affect how you fold and trim when the time comes to add the fabric for A8.

BEWARE! Avoid lining up fabrics as shown above. This is Unit A, but it applies to most units. When adding a lighter fabric, make sure that it completely covers the dark piece beneath. Otherwise, you'll get shadowing (dark fabric in the seam allowance is visible from the quilt top through the light fabric). If the piece shifts while you sew and you do experience shadowing: Before sewing the next piece, carefully trim small amounts of the dark fabric away until it no longer extends beyond the lighter fabric on top.

YES! This is the same piece from the previous photo sewn successfully. This is what you want. :)

When I'm piecing spines, I think in terms of covering the "upright" triangle (outlined in red dashed lines). I make sure the new triangle is "leg-down". Also, it's important to note that I'm making sure I cover the 1/4" seam allowance on both the right (unmarked) and left side of this spine.

Once it's sewn in place and finger-pressed, you can see how it's in perfect position. In other news, I MADE A GIF! :)
Once all units are sewn, they'll need to be seamed together. Refer to the diagram in the pattern to arrange and seam the pieces together.
PIN!
Assembling sections: Pinning is important, if you're into accuracy. There's no other way around it. I've made sooooooooo many stars over the years and I still pin (a lot) every time. I promise it's worth it. Adequate pinning can make ALL the difference in not having to unpick seams. And let me tell you: It's not fun to unpick stitches sewn at a 1.2 length!
I start pinning at the point-matching places from one unit to the next. There is also a photo of what my pinning looks like in the pattern. I run a straight pin on and through the solid, black seaming line of one unit and match it up at the exact point on the other unit. I'll match several pins running straight through the pieces before I'll readjust them in order to sew.
Alright, this makes more sense watching it, so here's a very quick video showing what I mean. And, because I'm great at GIFs now! ;)

If you'd like to see the regular speed version of this along with the verbal play-by-play, check out this video (at the 2:25 mark).
Removing papers: I used to wait until a top was all assembled before removing papers because I liked using the solid black lines to expertly assemble a whole quilt top in the most precise manner. But now, I trust in the accuracy of my 1/4" seam allowance without having to sew on the line and papers are a lot easier to remove in a 8", 12" and 16" square rather than having the weight and bulk of a whole twin-sized top in your lap. So go ahead and remove your papers after you complete each block, I think you'll be glad you did!
Press: After papers are removed, give each block a good pressing. I tend to let the seams fall to the side they want to go.
Then follow the instruction in the QAL pattern for adding sashing strips. I don't want to give all of my intellectual property away as far as how all of the stars are going to fit together, I respect those of you who have purchased the pattern too much to give everything away for free! :)
Hop on over to my closed Facebook group to join the discussion, share pictures, ask questions, get encouragement. We are a community and we'd love to help you out!