

I’d love to show you how to use my Fierce Feathered Star block in this lap sized layout! It’s kind of fun only making one main block and getting a whole quilt out of it! :)
Let’s start with the fabric requirements using the 2-tone option you see here. I bought 3 yards of each light and dark fabric and had enough for the binding and part of the pieced back.
Quilt Center:
Make the 36” Fierce Feathered Star as per the pattern directions.
Setting Triangles:
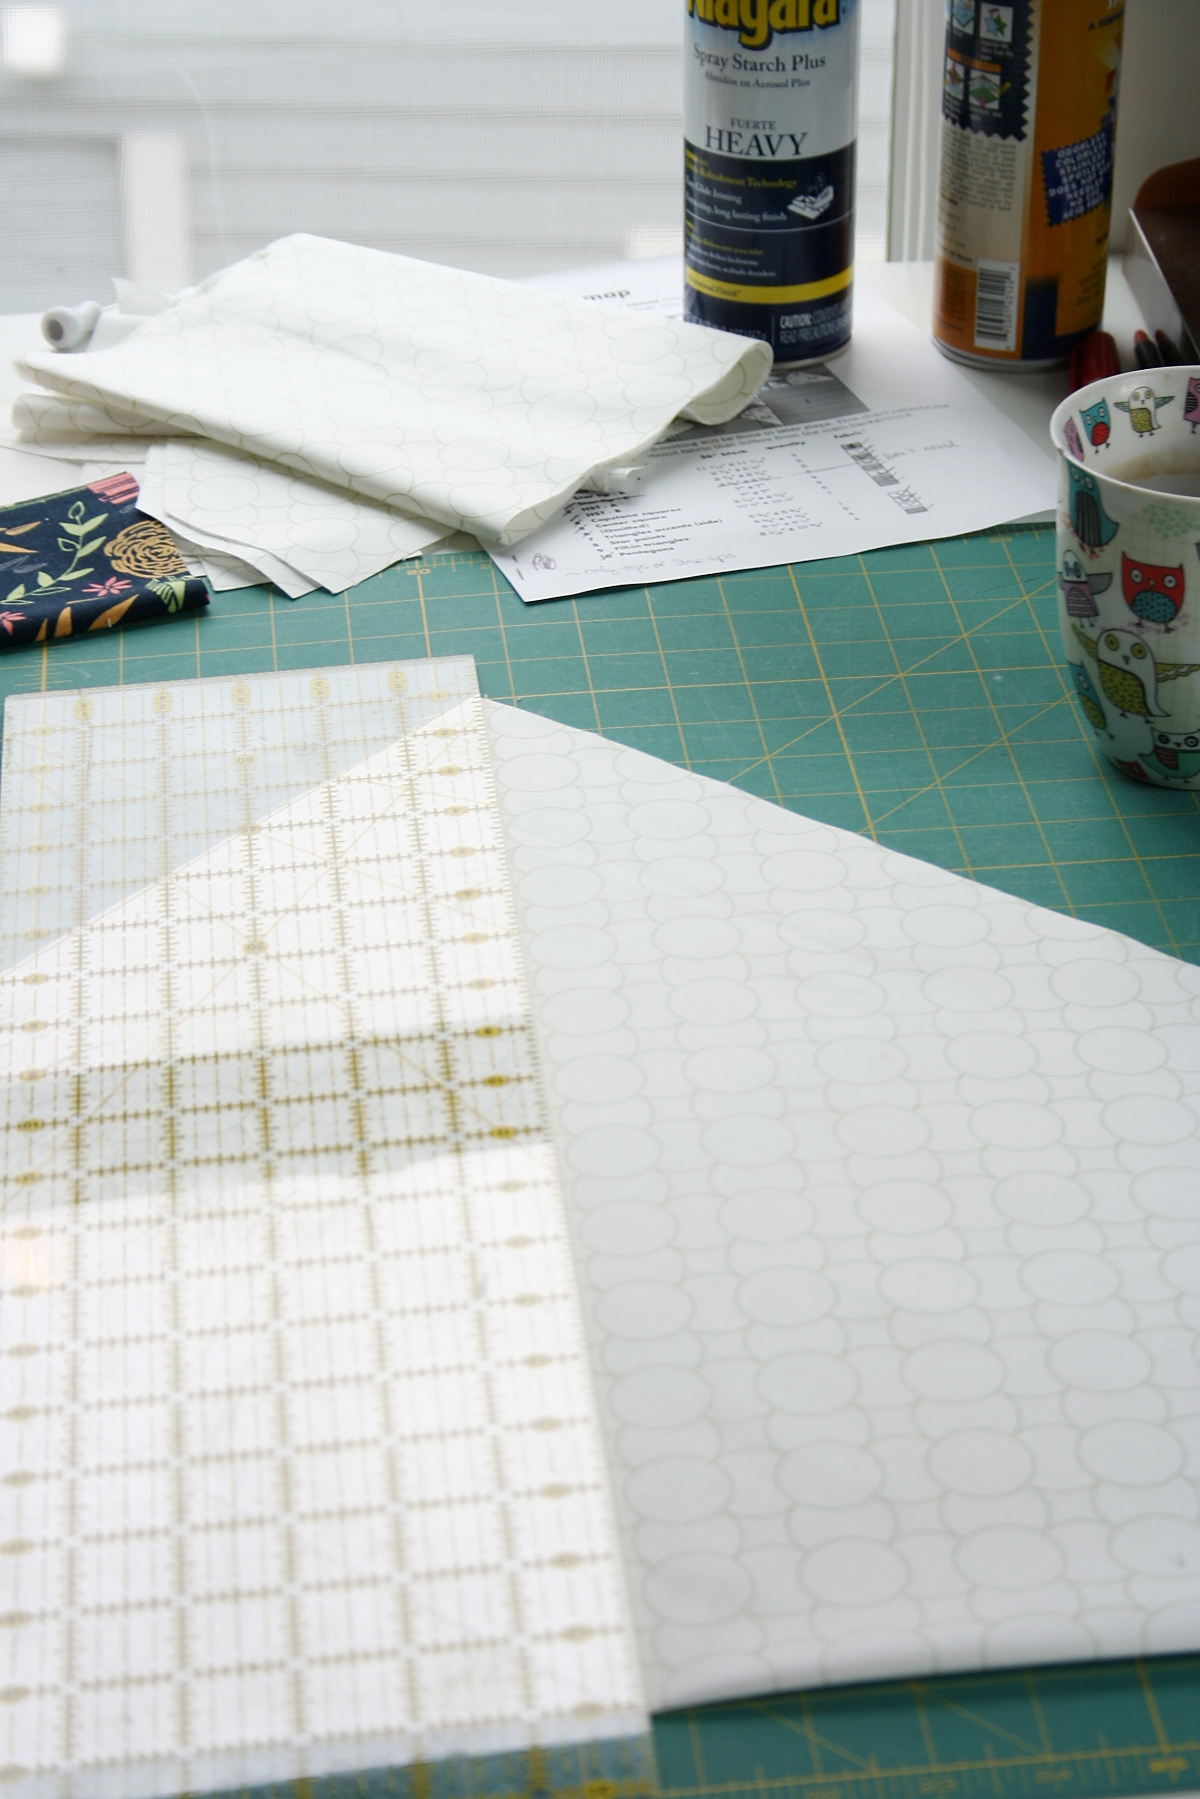
Cut two 27” squares out of light fabric.
Fold the square in half diagonally as shown below, aligning all edges.
Use a long ruler to cut the large folded square in half, yielding 2 large half-square triangles.
Repeat with the other 27” square.
Very gently crease the bottom edge of a large triangle to find its center.
Find the midpoint of the Fierce Feathered Star block by folding it in half and marking its center.
Align the light triangle RST atop the FFS as shown below, matching the midpoints of each.
Carefully pin from the center outward. Be really careful not to pull or stretch the bias edge of the triangle.
Sew using 1/4” seam. Press (I like to press open).
Repeat with the other 3 triangles along the other 3 sides of the center block.

When all the setting triangles are sewn into place, the FFS will “float” in the center, meaning the center block does not extend all the way to the edge. As you can see in the photo below, there is a bit of a margin there.

First border:
Cut eight 2.75” x WOF strips of dark fabric.
Sew strips end-to-end (RST) in pairs to make four border strips. Press seams.

Trim two of the borders to 52”.
Tip: When I have to measure and cut pieces that are longer than my 36” cutting mat, I place a pin to mark the end of my mat (in this case 36”).
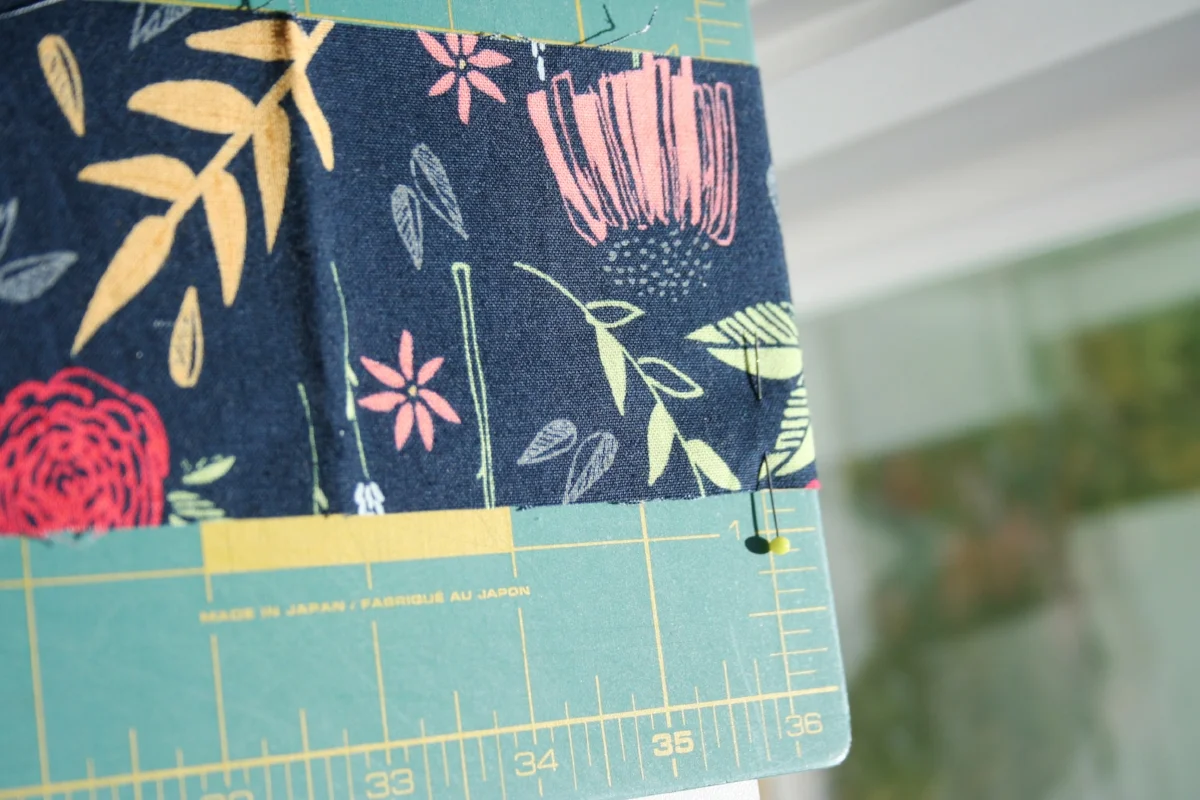
Then, I slide the pin to the 0” mark of my mat and do the math to figure out where I need to make the cut.

In this example 36” + 16” = 52”, so I make my cut at the 16” line of the mat.

To get nice, straight borders that don’t wave, ALWAYS measure & cut to the exact measurement first, pin and then sew to the quilt top.
Align border strip RST to one side of the quilt. At this point, the top is still square so it doesn’t matter which side you start with.
Pin each end of the border to the quilt top. Pin the center and continue pinning every few inches until the whole border is secured to the top.
Sew using 1/4” seam. Press.
Seam the 2nd border strip to the opposite side of the quilt top.

In the same manner as you attached the first two borders, cut the two remaining untrimmed border strips to 56.5” and sew to the other sides of the quilt.
Second border:
The second border is only applied to two (opposite) sides to make the quilt rectangular. The top and bottom border are each made of fourteen half-square triangles (HST).
Cut four 10” squares of each the light and dark fabric to make a total of 32 HST using the Magic 8 method. Refer to page 11 of the Fierce Feathered Star pattern if you need a reminder.
Press and trim 28 (the remaining 4 won’t be used) of the HSTs to 4.5” square.
Arrange and seam together as shown. Attach to top and bottom of the quilt.
Top border:

Bottom border:

That’s it! “Quilt as desired” and bind… as they say in the biz. :)


