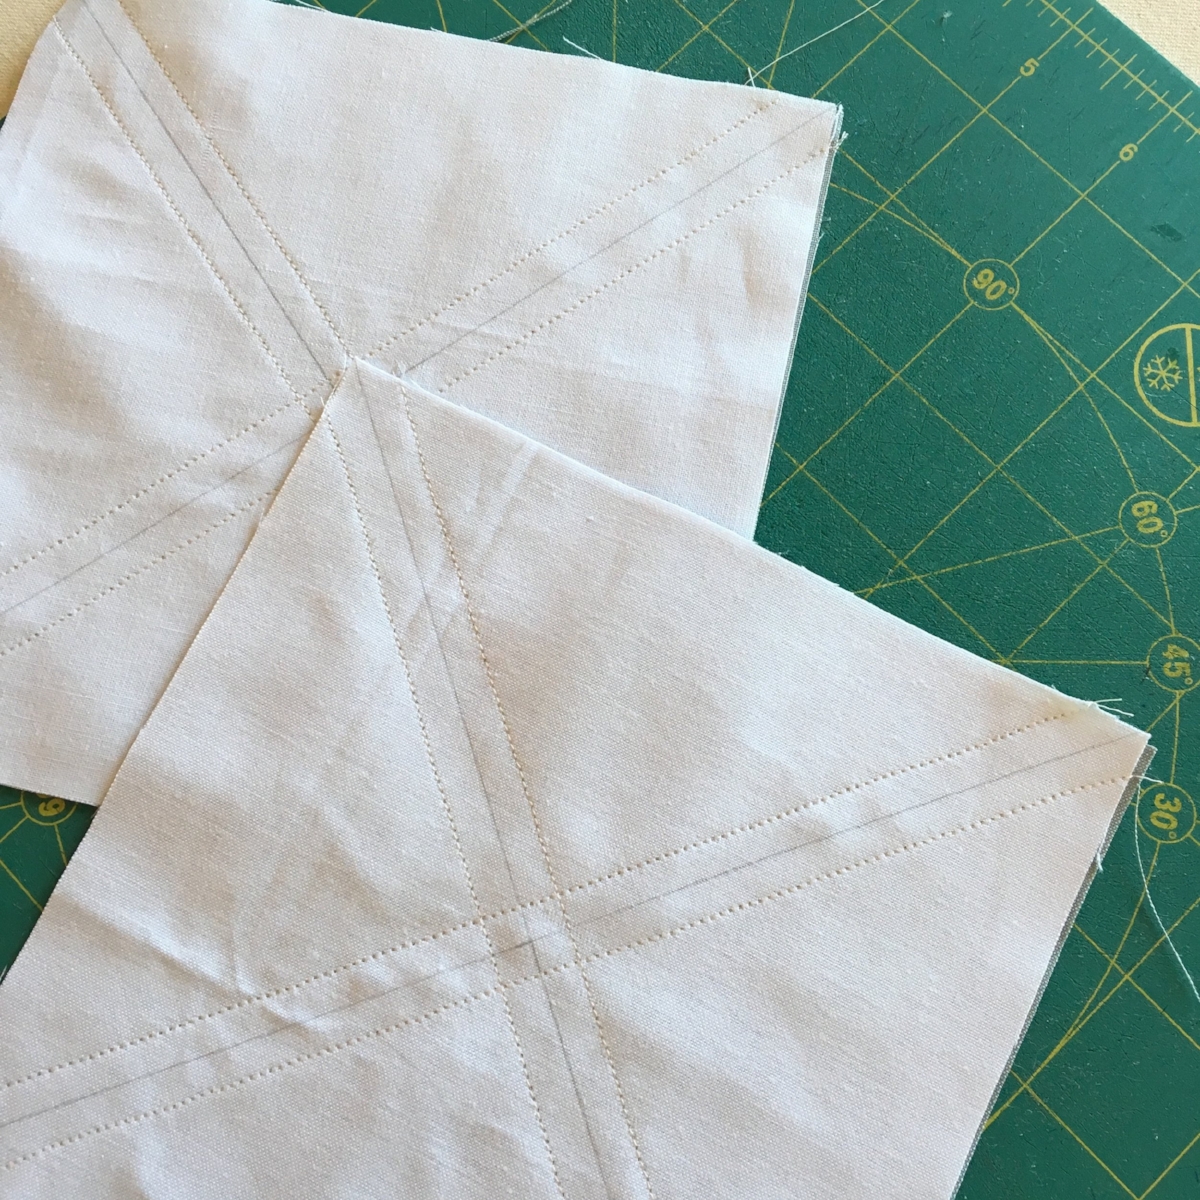
Next up are the 20" Fierce Feathered Star blocks! You'll notice there is no paper used to sew these pieces together. ;)
Welcome to Week Seven! There are no more paper piecing stars to tackle, so we're getting FIERCE this week!
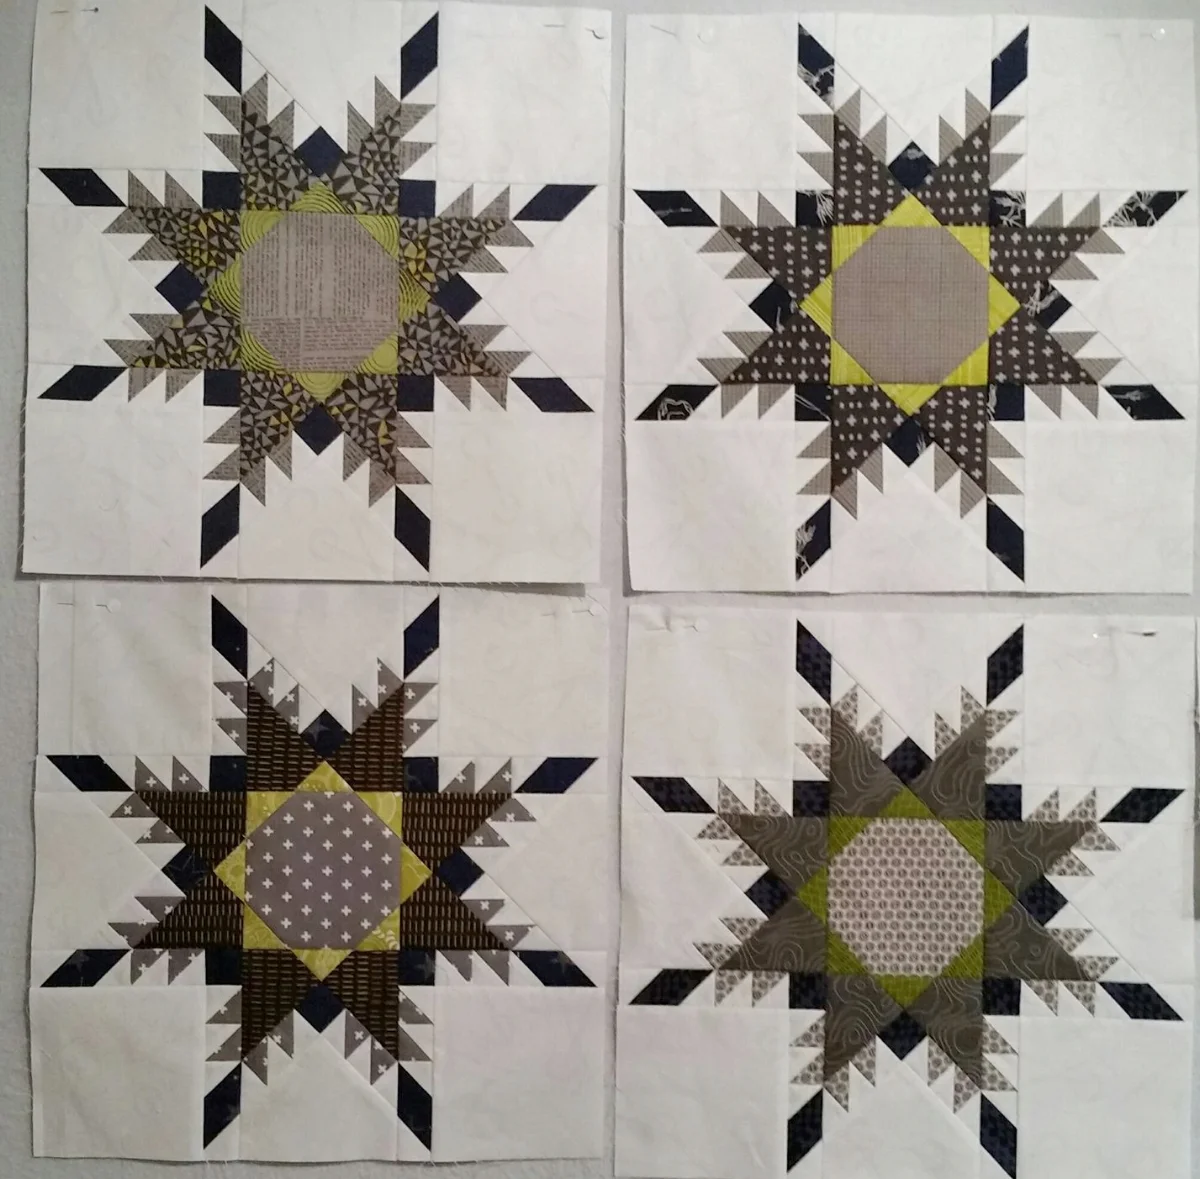
Week Seven instructions: Complete two 20" Fierce Feathered Star blocks. There are only two in the quilt.
I would encourage you to look through the Fierce Feathered Star instructions in total before you begin. Notice how the Fierce block goes together in the end just like the No Y Seam Feathered Star block.
If you are using the fabric kit or a similar coloring scheme as mine, I've laid out the cutting instructions for you on page 4 of the Feathered Star QAL pattern. Because we're no longer dealing with foundation paper piecing, it's important to get the cutting measurements exact. I really, really want you to use washi tape or some other method to mark rulers for easier cutting. When it comes to using 16th of an inch measurements, it's very easy to make a mistake!
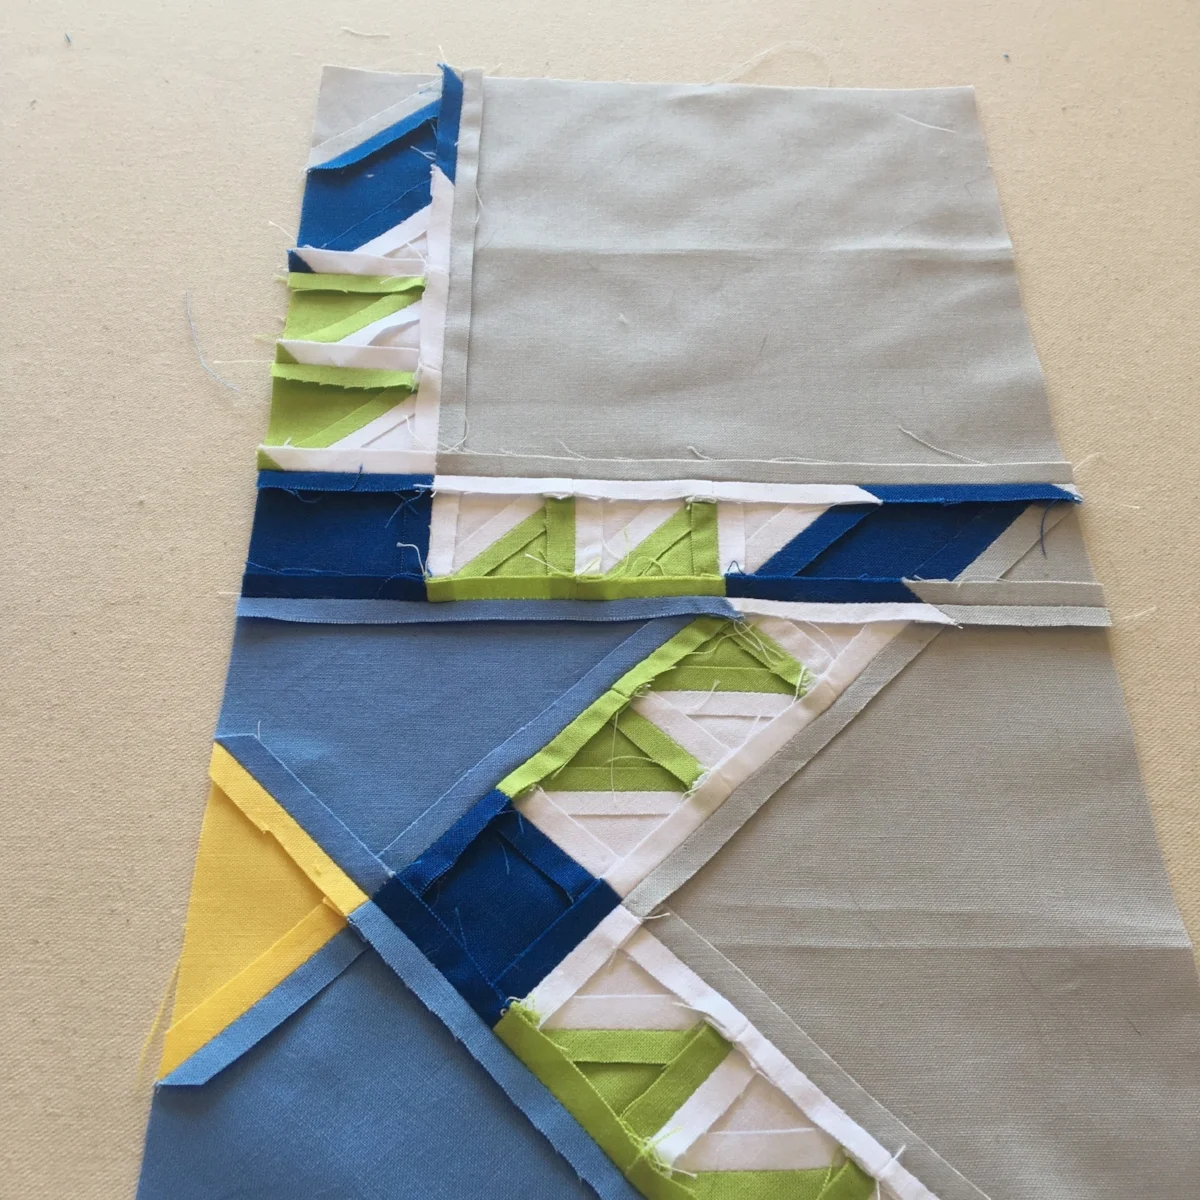
Once the fabric cutting is done, follow the Fierce Feathered Star block pattern to make two blocks. You will need to print and cut out two templates for the 20" star. Like with the paper piecing templates, make sure these templates are printed at 100%. Use the inch square provided on each template page to test accuracy. You will tape these templates to a rotary ruler to easily trim (pictures of each step in the pattern).
I also recommend doing a lot of pinning throughout.

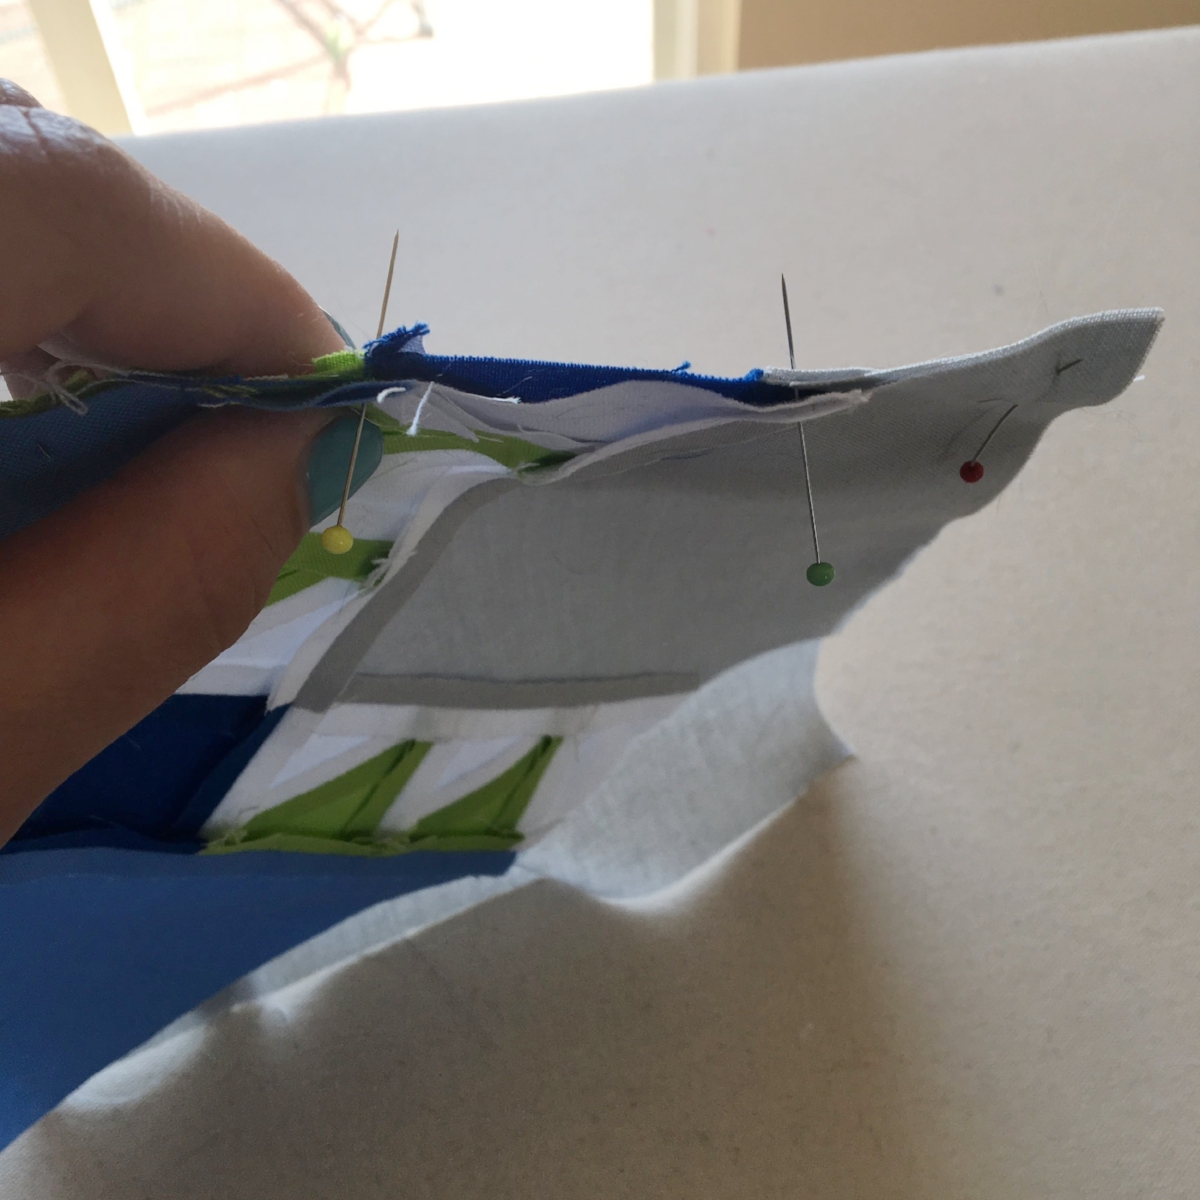
In the photo above, notice how I use the same pinning technique as I did with the NYSFS pattern for lining up points, even though there's no paper. Pin liberally to get great results!
YOU CAN DO IT!
Hop on over to my closed Facebook group to join the discussion, share pictures, ask questions, get encouragement. We are a community and we'd love to help you out!