
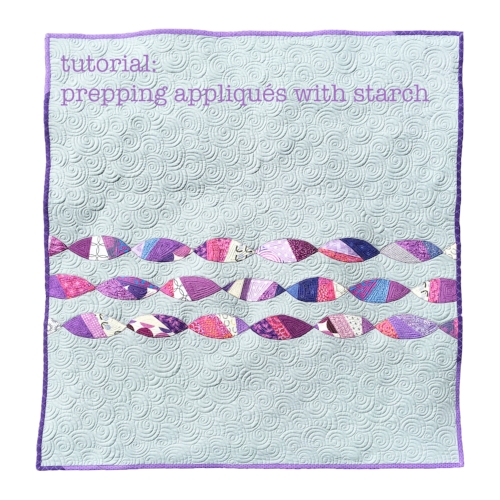
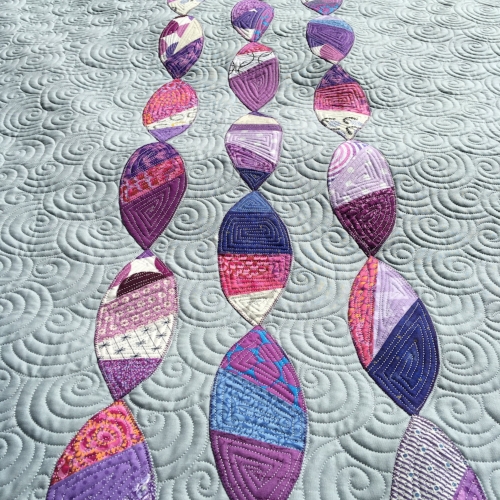
Close-up of pieced appliqués, tutorial for background quilting found here: overlapping spirals
I recently made this baby quilt that prominently features appliqué. To a degree, this style of quilt is out of the norm for me, but when I finished I thought: Why don't I do this more often?! It was a lot of fun!
The tutorial that follows is the process I used to achieve this look, but there are so many ways to make and use appliqué! If this doesn't trip your trigger, you should find another way that does. There is something about the versatility of appliqué that can make you believe that any design and any idea is achievable in quilting. And I love that feeling of empowerment! Go forth and create something new!
Another note before we get started: I specifically wanted to use scraps and so I pieced all of the appliqué shapes in this quilt, but this technique would totally work (and be simpler) using a single, non-pieced chunk of fabric. :)
1) I sketched out a very fast "petal" outline on a piece of cardboard and cut it out. It was imperfect and organic-looking. Instead of trying again to make a more smooth, symmetrical shape, I just went with it. Next, I traced around my petal cardboard template multiple times directly onto the paper side of a section of freezer paper. I made as many petals as would fit on the section of Reynold's Freezer Paper I haphazardly cut from the roll. BTW—I didn't notice this until later—the shape I drew looked very much like an orange peel, which would have had some fun applications!
2) To make my templates more durable, I doubled the thickness of the freezer paper. To do this, I ironed a new section of freezer paper—larger than in step 1—shiny side down directly to my ironing board until it adhered and was firmly in place. Then, I ironed the freezer paper that I'd traced upon in Step 1 directly on top of the base freezer paper, also shiny side down until it was completely adhered. {The marked freezer paper is stuck to the base freezer paper is stuck to my ironing board at this point.}
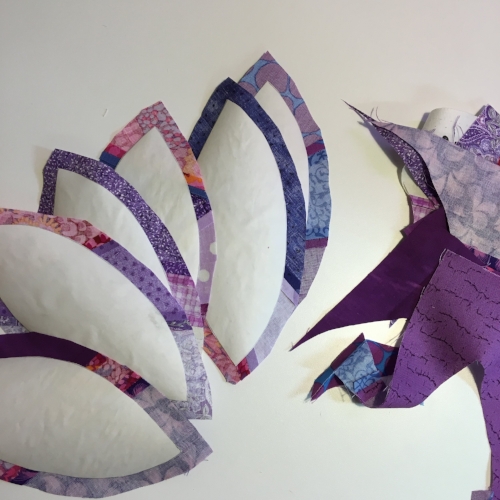
3) Next, I peeled the double-thick freezer paper from the ironing board and cut the leaf shapes out on the drawn lines.
The idea I had first envisioned was to make a variety of petal/leaf shapes. And then I didn't. Instead, I used the same shape over and over again and decided that I was going to vary the fabrics used in the petals. I stitched together a bunch of odd-shaped purple fabrics I had leftover from using Tri-Recs rulers in making this quilt:

Purple triangle quilt made with Tri-Recs rulers, free-motion quilting tutorial here: feathered spirals

Scraps used for the appliqué
4) I began by pairing and sewing my scrap pieces together. For this particular quilt, I wanted the pieces to look scrappy, which meant that my intention was to sew fabrics that had contrast next to each other. I continued to add to the "clusters" of fabric until the piece was large enough that the petal templates fit comfortably inside while also accounting for a seam allowance of at least 1/4" (although I was aiming for a seam allowance more like 3/8" but I didn't do any exact measuring).

Contrasting fabrics sewn next to each other

Seams pressed open, template fitting inside the fabric piece
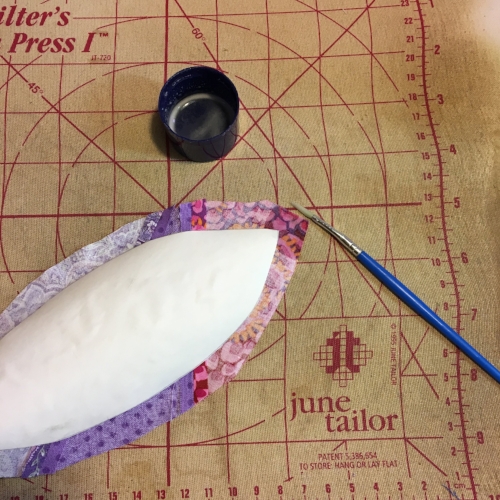
5) Next, I pressed the petal templates shiny side down to the wrong side of the fabrics, as shown above. Once the templates were firmly adhered, I used a pair of scissors to trim around the outside of the templates. As I mentioned before, I left a 1/4" - 3/8" seam allowance.
Real-life "seasoned" pressing surface :)
6) I used a can Faultless spray starch and sprayed it into the lid to get a concentrated liquid amount. Then I applied the spray starch from the lid to the fabric by using a paintbrush. I started by wetting (not soaking) both ends of the petal shape.

Folding starched tip over template
7) After wetting the ends with starch, I folded the fabric at the tip back against the freezer paper template as shown above. Using my iron, I pressed the fabric into place until the fabric dried and stayed in place (see next photo).

Both ends pressed into place

Bottom curved edge with starch applied
8) Once the ends were pressed into place, I applied more starch along the bottom curved edge of the petal as shown in the above photo. Then, I folded the edge fabric against the template and pressed it into place. My curves were gentle enough that I did not need to clip any seam allowances, but if you have sharper curves or angles, you may need to clip or notch the seam allowances to get the fabric to fold smoothly over your template.

Lower edge of the petal pressed toward the template
9) Then, I repeated applying starch and pressing the remaining seam allowance over the last edge.

Each edge starched and pressed into place
10) At this point, I peeled the template away from the fabric.

Template removed
11) After the template was removed, I took a moment to re-press the edges neatly back into place.

"Finishing" press after the template is removed from back side

Prepped appliqué from front
12) I was able to reuse the freezer paper templates several times. Because I wanted to make the petals "assembly line" style, I worked with a batch of 6 or 7 freezer paper templates at a time. They will last for many more applications, too.